15 Apr
The Curvy Clutch – A Free Pattern and Tutorial
Posted under Free Patterns, New Fabrics, News, Tutorials, WIP Wednesday
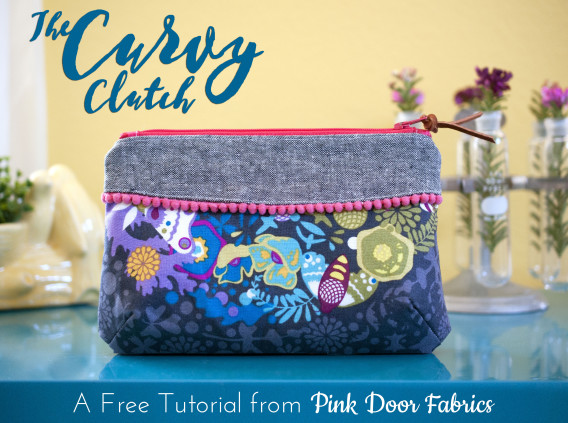
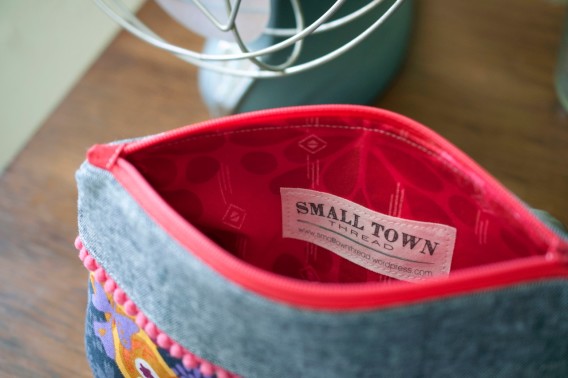
Over the last few days, an idea has been bouncing around and I quickly set to work. I sketched ideas, drew up templates, and quickly got down to sewing. We were given some advance sample fabric of Alison Glass‘ new line, Ex Libris, and oh my goodness, it’s gorgeous! We expect to see it in our shop very, very soon!
On with the post – I’ve written up a tutorial for the Curvy Clutch to share with you all! We love to create, and know that many of you do, as well. So here we go!
Download your own copy of the Curvy Clutch pattern and tutorial here.
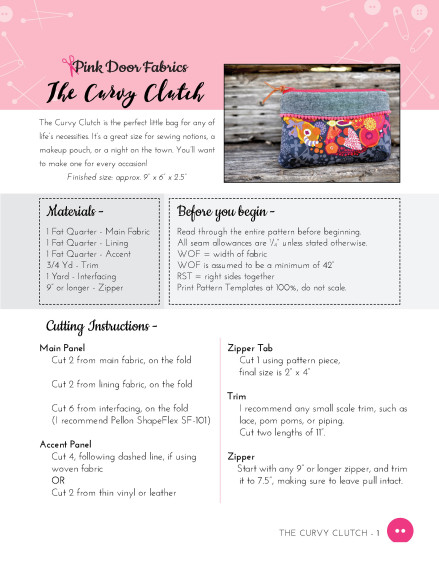
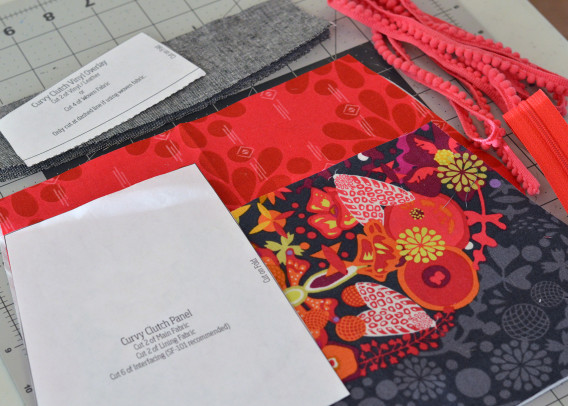
Let’s begin on your Curvy Clutch! You only need a Fat Quarter of all three fabrics used. You’ll also need some trim (3/4 Yard), a 9″ or longer zipper, and a yard of interfacing. I recommend Pellon Shapeflex SF-101.
1. Cut all your pattern pieces for the Curvy Clutch as directed on the templates. Trim your zipper to 7″ in total length. Be sure not to cut off the pull.
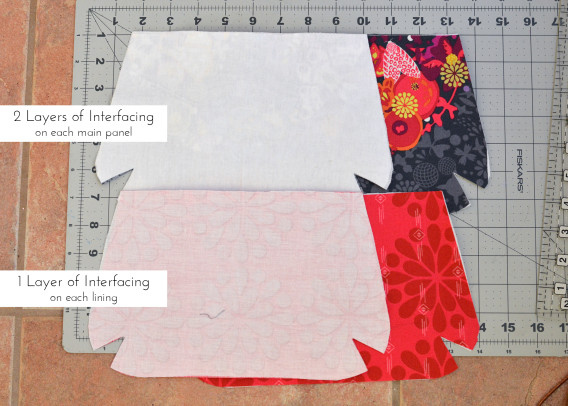
2. Take two pieces of your interfacing, making sure rough side facing up, and layer with under one main panel. Follow manufacturere’s directions for fusing. Repeat for other main panel. Fuse one piece of interfacing to each lining piece, following manufacturer’s directions. Set aside.
3. Take your accent pieces, and put them RST. Using a 1/4” seam allowance, sew along the curved edge, backstitching at both ends. Turn and fold the pieces, right sides now on the outside, and press carefully. Don’t stretch the fabric while pressing. If you’re using vinyl or leather, there will be no sewing on this step. Proceed to the next step.
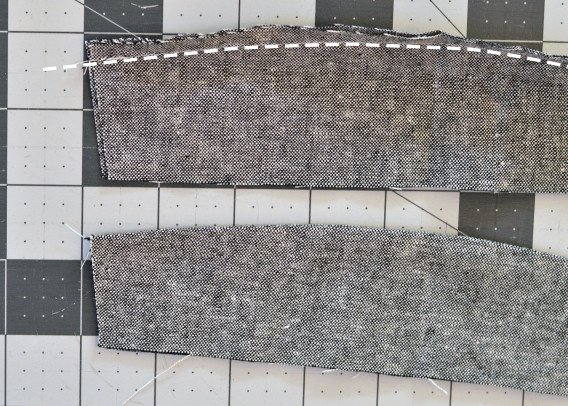
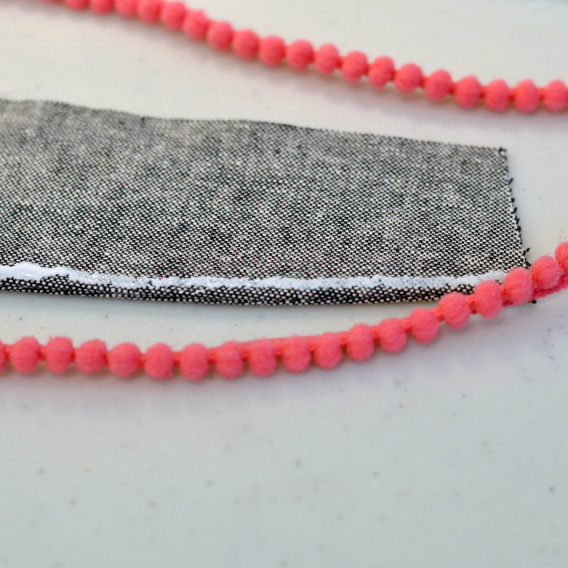
4. Take your accent pieces and your trim, and then apply a thin layer of glue to the wrong side of your accent piece on the sewn edge. You’ll need to make sure your trim stays in place so hand press the trim well.
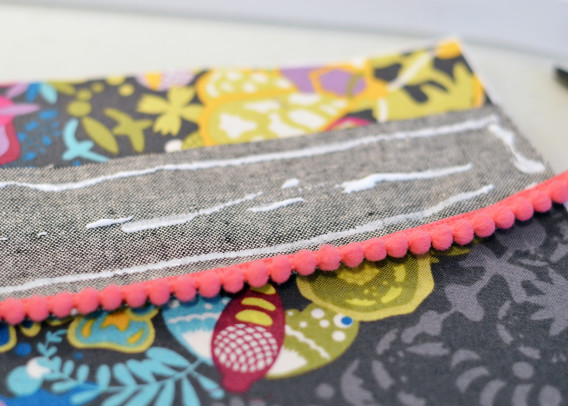
5. Once your trim is adhered, go ahead and apply some glue to the wrong side of the accent piece.
Alternately, you can lay the accent piece on the main panel, aligning top edges, and pin well. I don’t recommend pinning if you’re using vinyl or leather, as it will leave permanent holes.
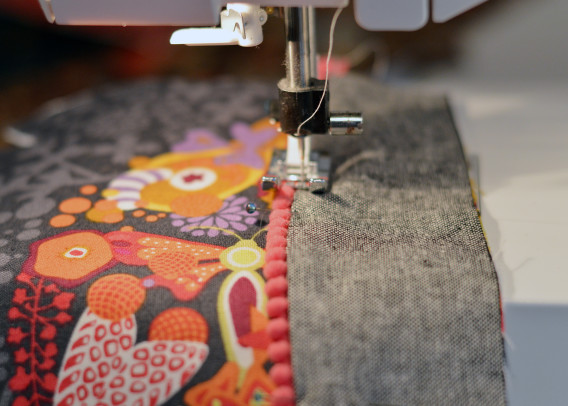
6. Now, very carefully as not to snag and pull your trim, topstitch 1/8” from the edge of the accent piece to secure the accent piece and trim to your main panel. Sew around all four edges. Set aside.
7. Grab your zipper tab, and iron it in half, lengthwise. You should have tab that now measures 1” wide by 4” long. Open it and fold the outside edges to the middle. Press again. It will look similar to bias tape. Once pressed, open and insert your trimmed zipper edge, aligning it with the middle of the tab. Topstitch this tab, and trim leaving 1/8” extending past zipper. Repeat for other side of zipper.
With your zipper pull on the left side (for now), apply a thin layer of glue to zipper edge, on the bottom of the zipper.
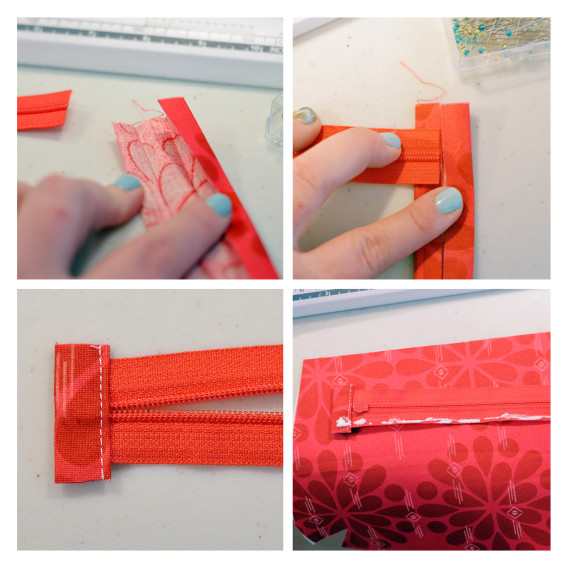
8. Center your zipper on the right side of the back lining panel. Hand press to adhere zipper. This will help keep zipper in place. Place your back main panel right side down, centered on the zipper, and aligning top edges.. Pin well.
Note that the zipper pull is still on the left side. In the picture, my zipper is open so that I can easily sew this seam. Sew with a 1/4” seam allowance to finish making the back of your clutch.
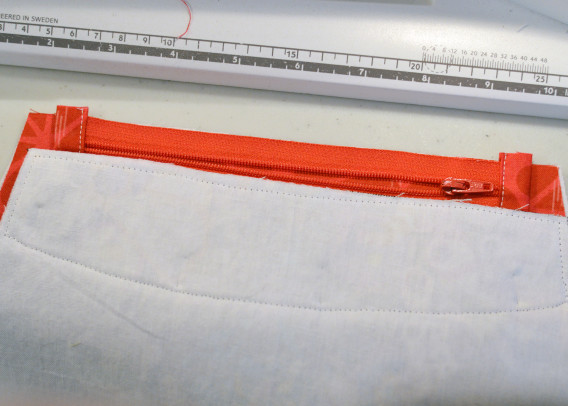
9. Press both the lining and main panels away from the zipper, and topstitch the edge as shown. I use a 1/8” seam allowance for topstitching.
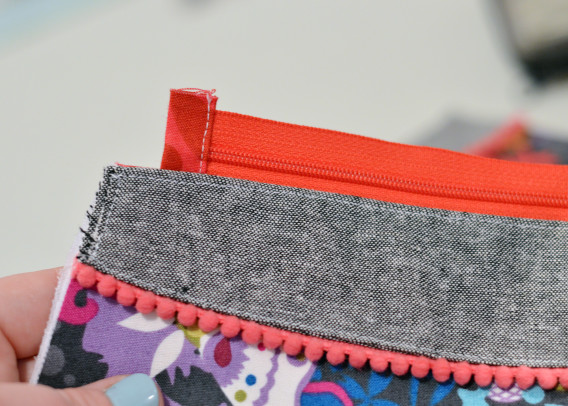
10. Repeat steps 7 and 8 for the front main panel and lining of the clutch.
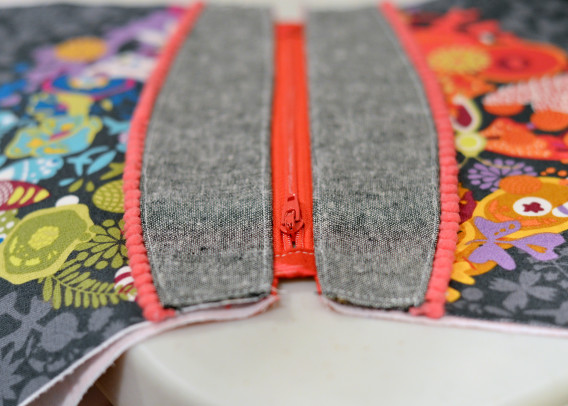
11. In this step, you’ll sew together the darts, which create the curved bottom. Fold your main and lining panels RST and sew with a 1/4” seam allowance. Press seams toward the middle of the pouch.
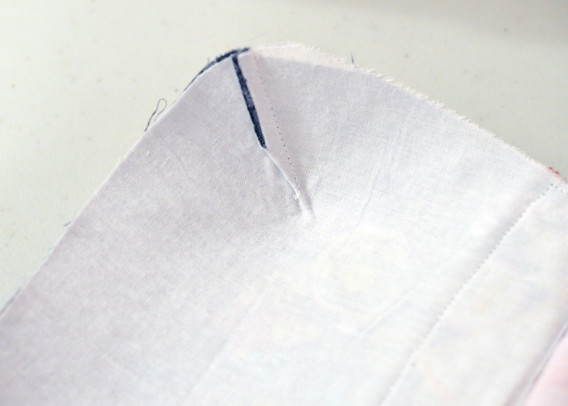
12. OPEN YOUR ZIPPER!
OPEN YOUR ZIPPER!
DON’T FORGET TO OPEN YOUR ZIPPER!
Align your two main panels RST. Align your lining panels RST. Pin well. Leaving a 4” opening on the bottom edge of the lining, begin sewing your clutch together. Go slowly over the seams and when you get back to the lining opening, backstitch several times to reinforce.
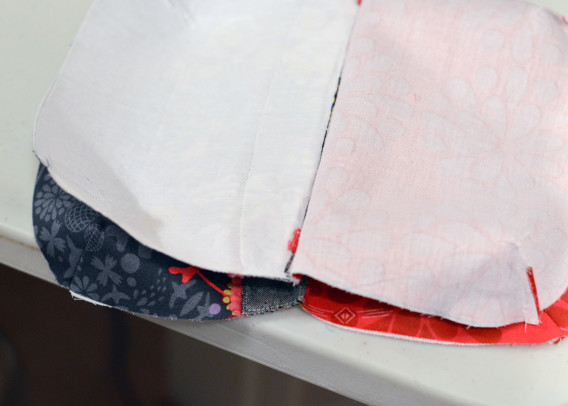
13. Using the lining opening, reach into the hole and through the open zipper, turn your pouch right side out. While the lining is still out, sew the opening closed either by hand, or machine.
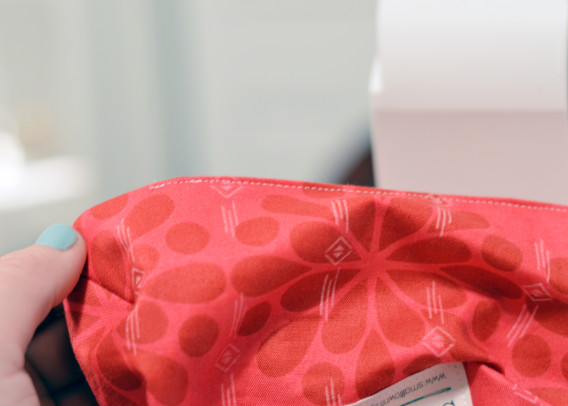
14. Push the lining back into the clutch, and press well. If you have used leather or vinyl, please don’t use the hottest setting on your iron as it will damage your clutch. That’s it! You’ve completed your Curvy Clutch.
Share photos on Instagram using #TheCurvyClutch and #SewingWithPinkDoor
