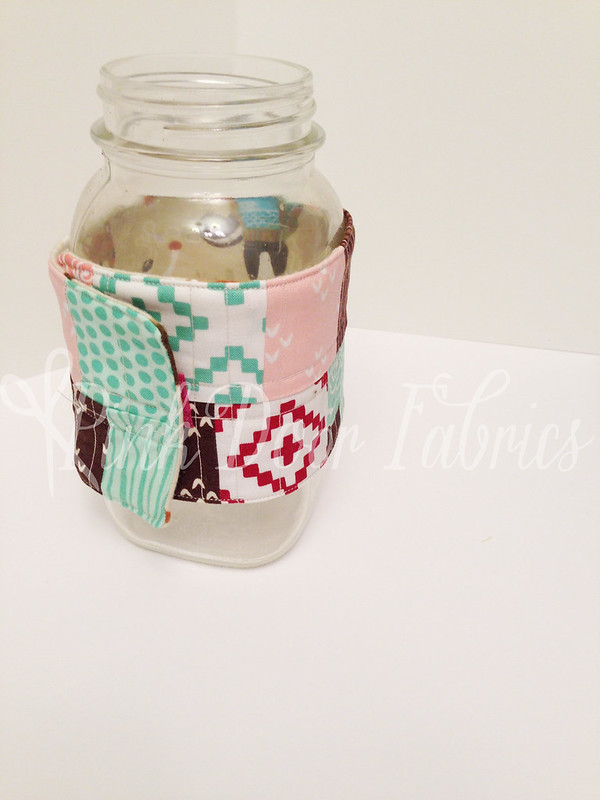
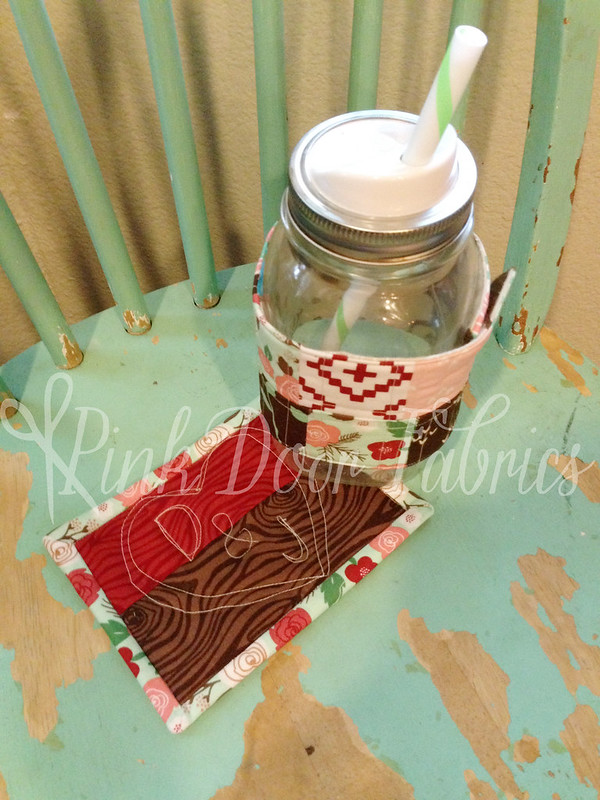
Stopping in today with a quick tutorial on these mason jar wraps!
While playing around with a Moda scrap bag a few weeks ago, I came up with a handful of quick projects that use up all those scraps you have lying around. First up is this mason jar wrap. The wrap will keep warm beverages warm just a bit longer and helps to keep your cup free of perspiration in the summer when drinking cold beverages.
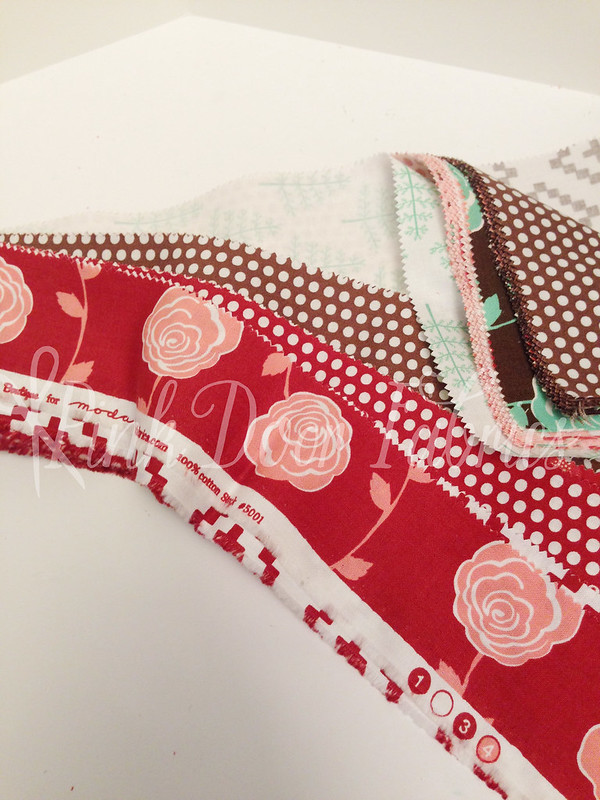
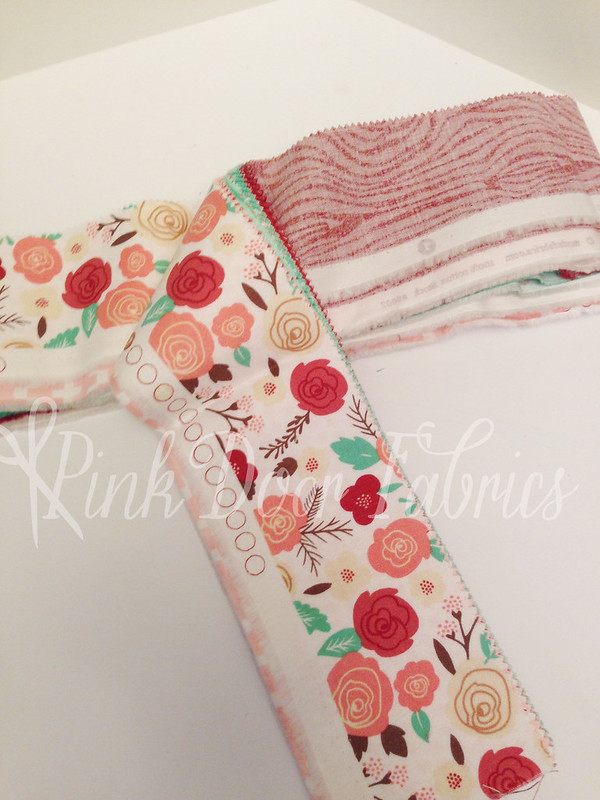
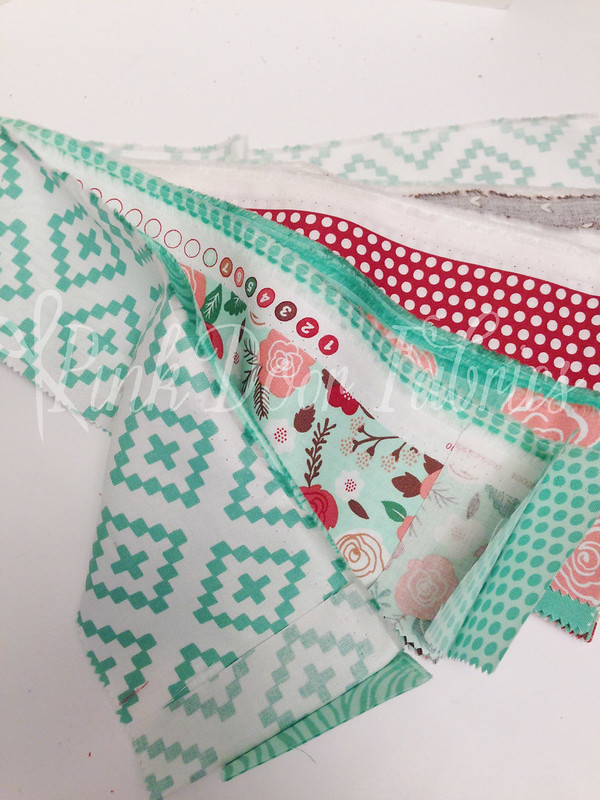
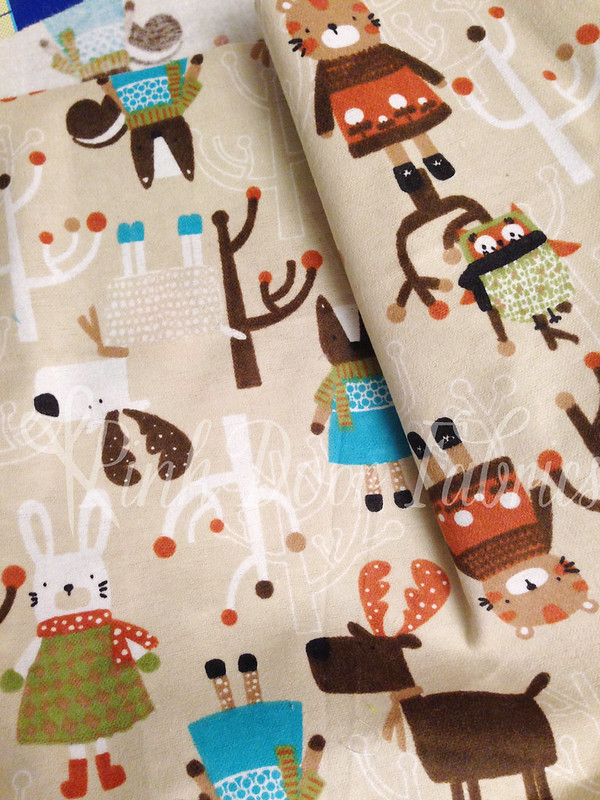
For this project, I used a Moda scrap bag, but you can use up all those bits and pieces you have lying around. In case you are interested in the scrap bags, they are very similar in size to a jelly roll and come with random assortments from a fabric line. You are not guaranteed to get every fabric in the line in any given scrap bag, but you often get a decent variety and can get cuts even larger than 2.5″ in width. They tend to retail for somewhere around $10 or $12, so they are really not a bad deal if you’re looking to test out a fabric line or just want some coordinating fabrics to play with. These next three pictures show three different scrap bags of Into the Woods, so you can get an idea of how different each pack is.
Ok, so on to the instructions. This is really pretty straightforward and if you have basic sewing or quilting skills, you probably are wincing right now that I’m calling this a tutorial. Just pretend that this is earth shattering and everyone and their brother hasn’t already made these. You are impressed with my mad-creative skills, ok?!
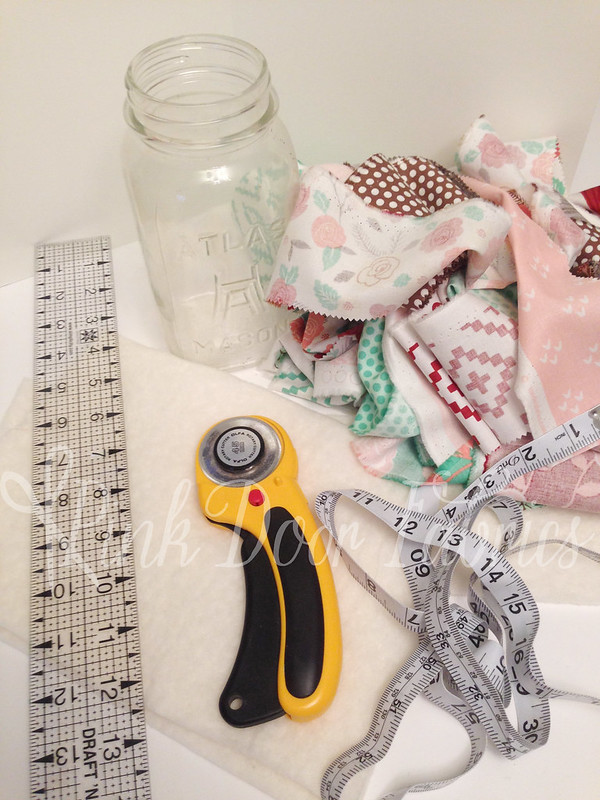
So gather your materials. I used an assortment of scraps, a piece of cotton batting approximately 15″ by 3.5″, a piece of flannel or backing fabric at least the size of your batting, and a strip of Velcro– along with your ruler and rotary cutter. I measured the mason jar I wanted to use and then adjusted the size so that I could use it on a variety of jars. Basically it has a decent overlap and the Velcro strip is long enough (mine was 2″) that it could be used for coffee cups, several size/shapes of mason jars, and regular glasses if I wish. I wanted mine to be about 3″ wide when finished, but obviously make it whatever size you fancy. Just err on the side of making your wrap about 1/2″ larger on all sides than you want finished cozy to be so that you can trim up the edges and have room for a seam allowance.
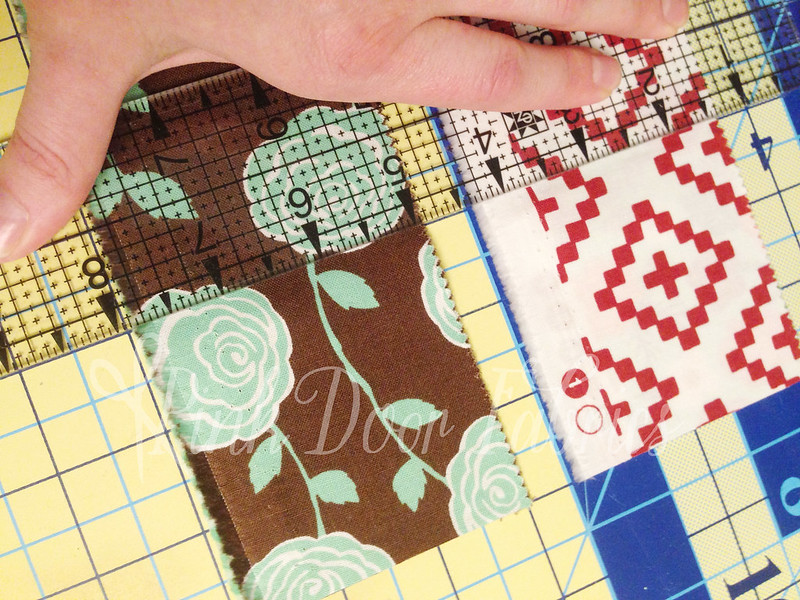
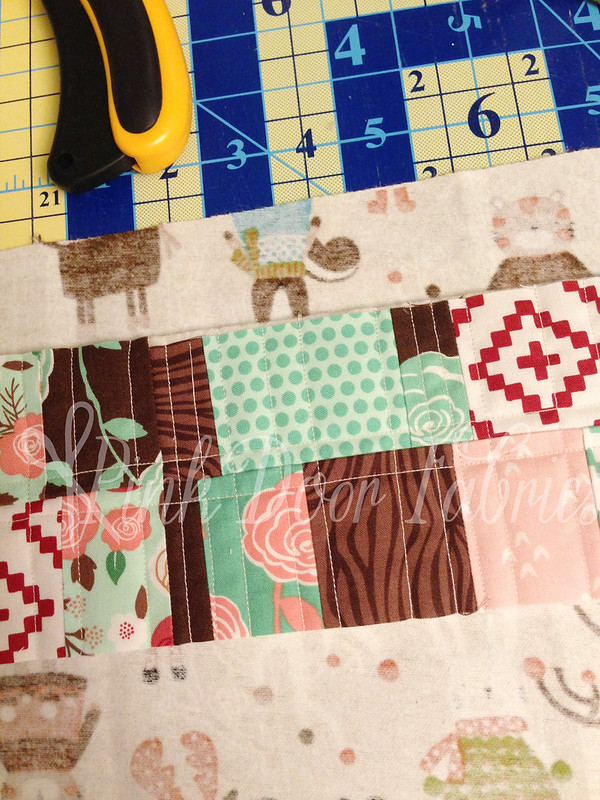
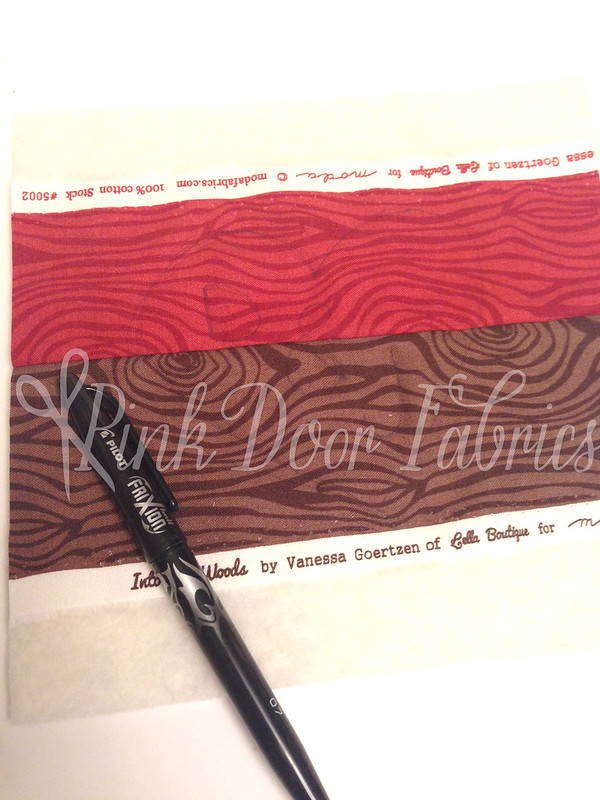
Here is where the tutorial gets really technical… I measured random sized strips and cut an assortment of different fabrics… ahm… randomly. These were 3″ each and I had another couple of stacks I cut between 1.5 and 2.5″. Here is the thing, this project is ideal for using up whatever you have, so my recommendation is to just start sewing strips together until you have the length and width you want to cover your cup. Sew them log-cabin style, with carefully measured squares in neat rows, with wonky cut, uneven ends in messy lines… whatever seems fun at the moment. Note: This kind of project is perfect for that fussy cut puppy or fish in a bag that you couldn’t bring yourself to throw away. It’s a great way to feature you’re favorite pieces.

So I grabbed all my random pieces and sewed them into two rows and then sewed those rows together. My primary consideration was varying the colors/values, not the size of the scraps/strips.
Next up, layer your fabric on the batting and get ready to quilt.
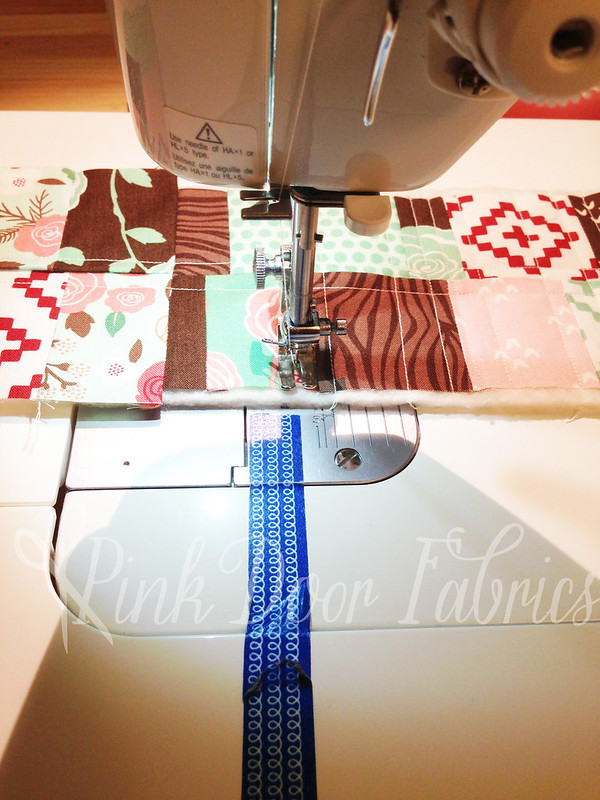
I quilted straight lines about 1/4″ on either side of each seam.
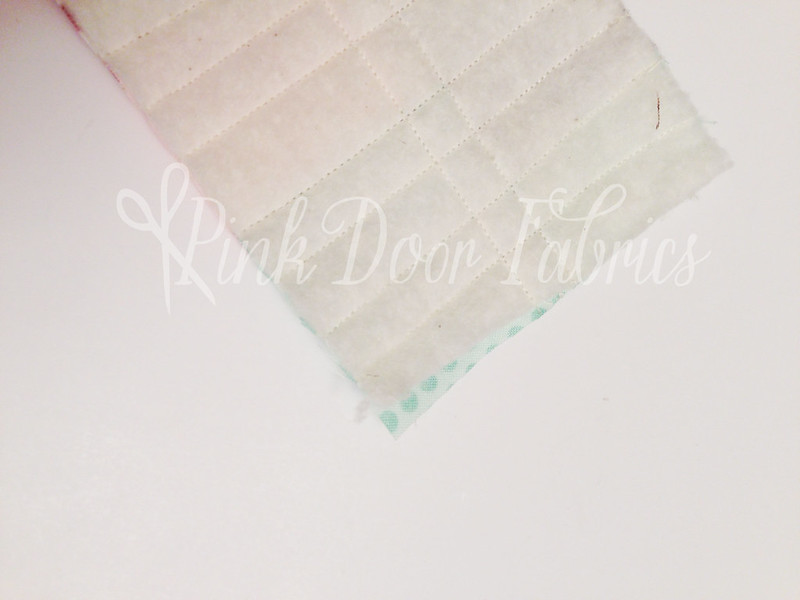
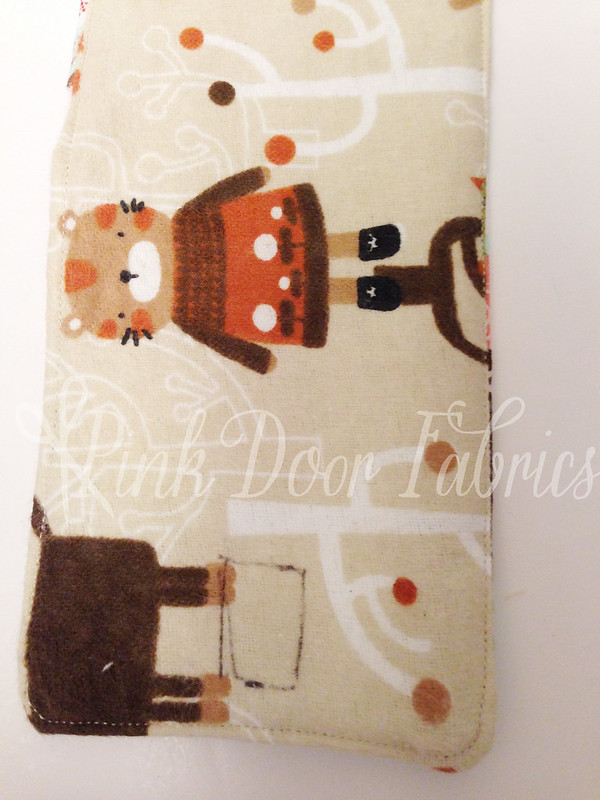
Now trim your batting and your fabric so that they line up nicely.
I used flannel to back my wrap because it provides some extra insulation and soaks up the moisture on the cup nicely. Measure and cut your backing to be even with the quilted front piece. Then put the front and backing right sides together and sew around the rectangle with a 1/4″ seam.
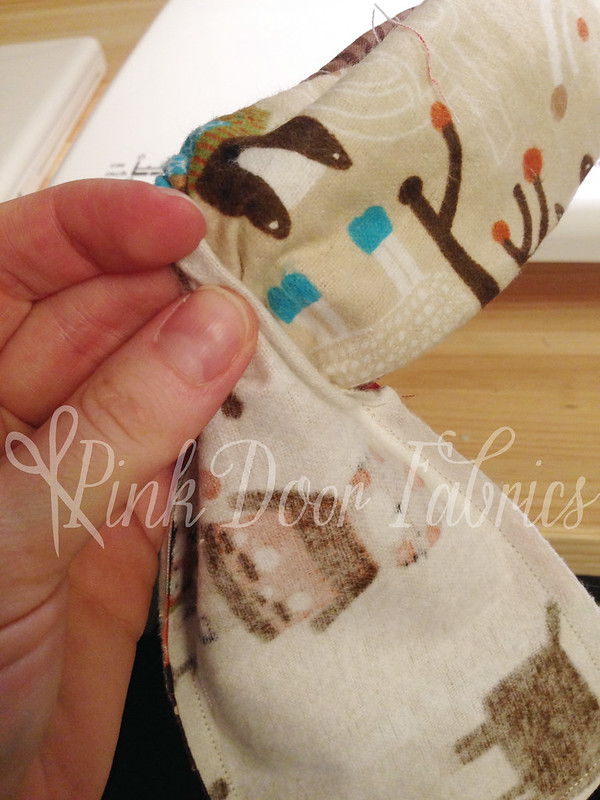
Don’t forget to leave an opening of at least a few inches to turn the wrap right-side out after sewing. Clip your corners, turn right-side out, and press well.
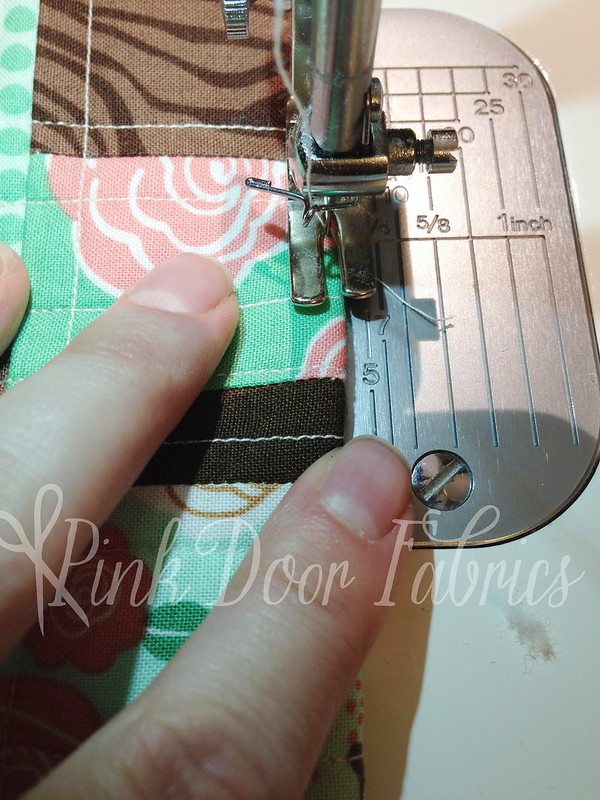
Now press the opening under 1/4″ and press. Top stitch all the way around the wrap, closing up the opening.
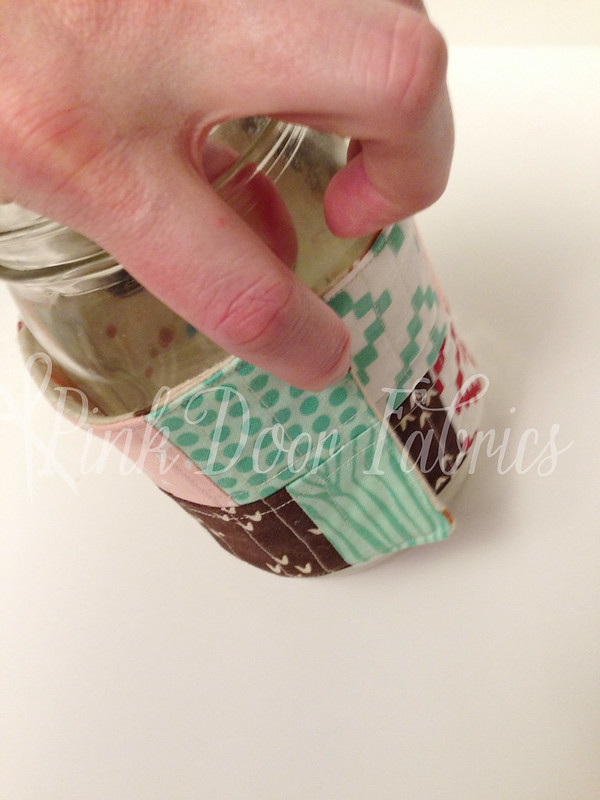
Determine where to place the Velcro. I wrapped my cozy around my jar and marked the spot I wanted the Velcro to go with a water-soluble pen.
See my art skills. I can draw a box almost as well as my 3-year-old son.
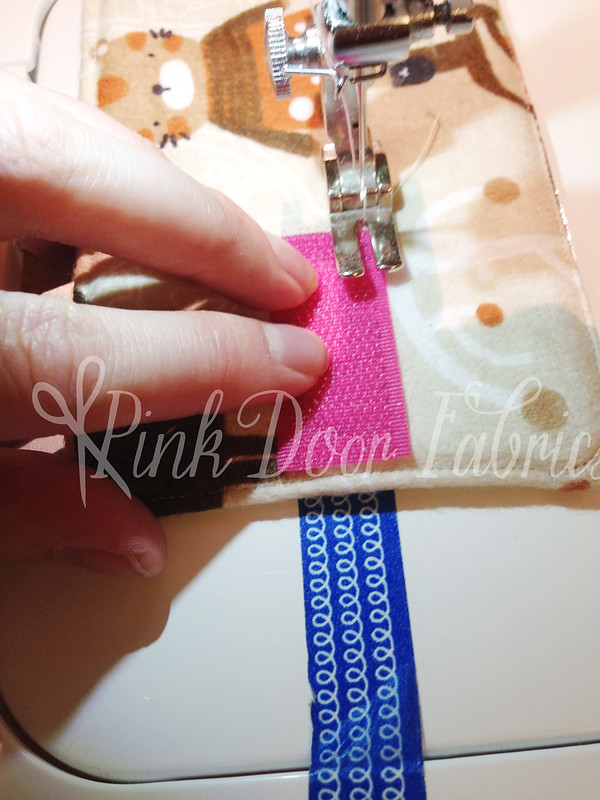
Sew down your Velcro.
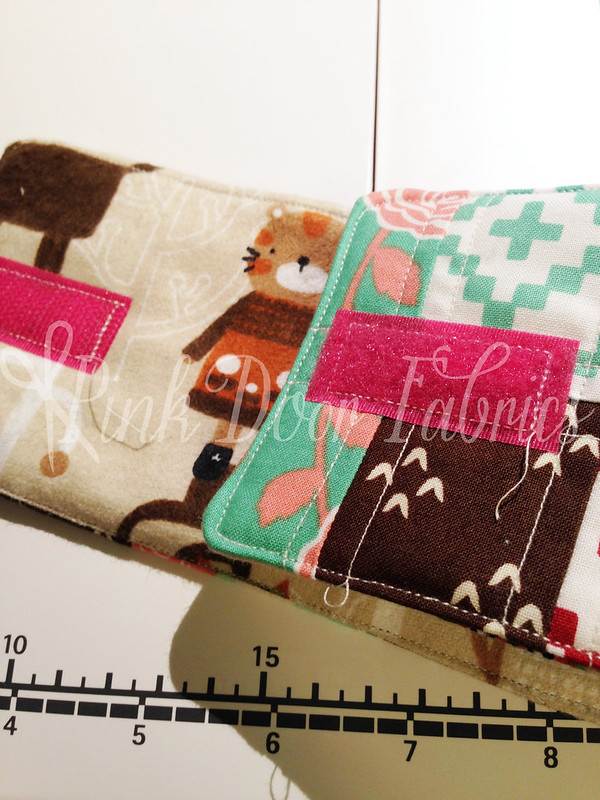
Double check that you are sewing the hook and the loop pieces right way around. One part should be on the inside of the wrap (touching the backing fabric) and the other on the outside (touching the quilted part)… I know this is common sense, but that is where I always drop the ball when sewing. Hands down my most frequent need for fancy language whilst sewing comes as a result of sewing things backwards or with the wrong sides touching. Apparently I am a slow learner.
Hey, in all my yammering I forgot to mention that you’re done!
Get yourself a fancy straw (found mine at Joann’s) or one of those amazing cuppow lids and you’re good to go!
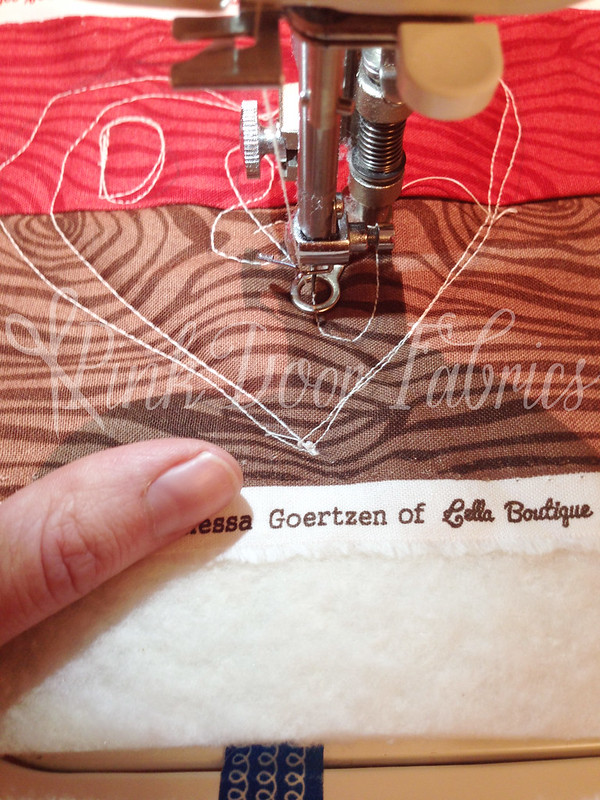
Incidentally, I made the little mug rug with more scraps from the same pack. I just sewed two strips together and then free-motion quilted the heart and monograms. Pretty straightforward (and I bet you could even do it without a free-motion foot).
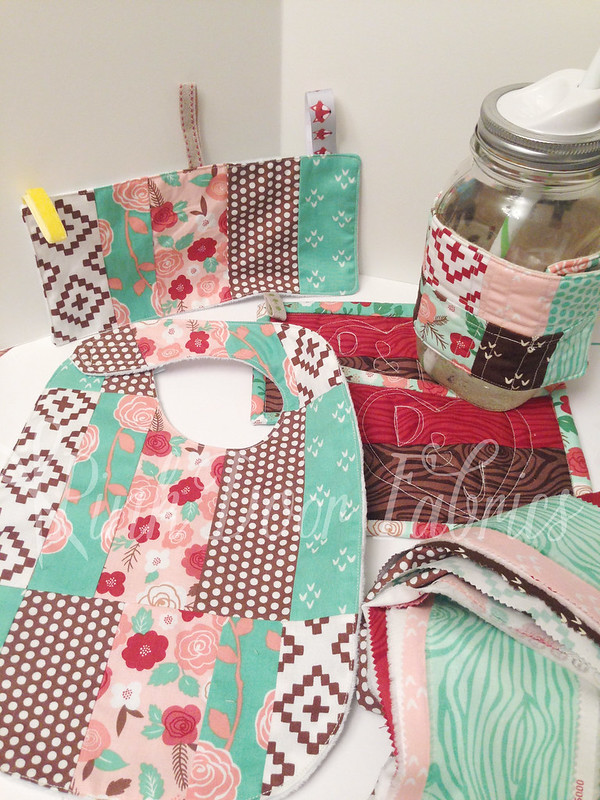
As for the scraps, the one Moda scrap bag of Into the Woods made all the projects pictured below and I still had over half the bag left.
Well, that’s a wrap on the wrap! Happy drinking!