Just popping in today with a few tips for those of you working on the Moda Building Blocks quilt. Make sure you’ve downloaded the assembly diagram, located here. Before you get into cutting, it would also be a good idea to go through and add labels to each of your fabrics with the names of the colors and the fabric skew, as the MBB pattern identifies the Bella Solids by number throughout.
We worked on Block 1 over the weekend and wanted to give you some tips when working with bias cuts and setting triangles.
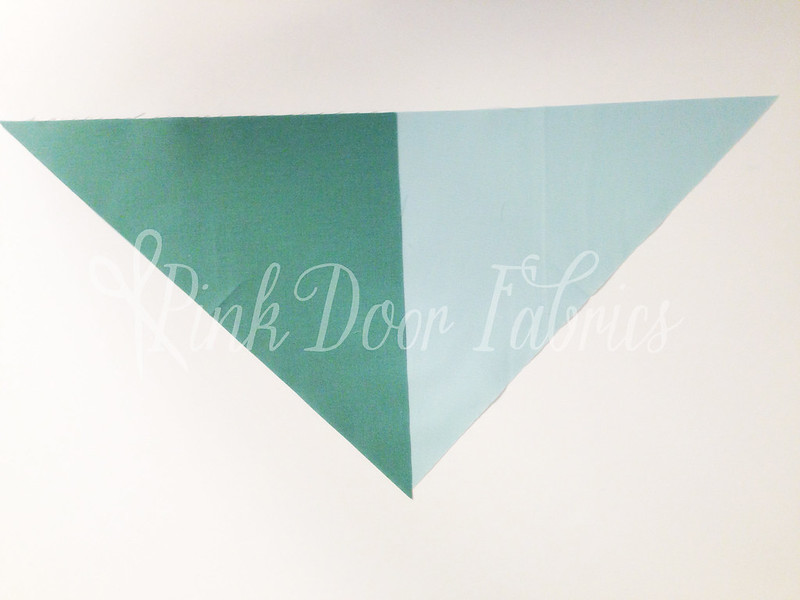
Following along with the instructions on the assembly diagram and your pattern, you’ll be sewing huge flying geese out of your triangles, which can be tricky for a number of reasons. The first is that the fabric has been cut on the bias, so those triangles are going to be stretchy. You can give your fabric a good spray of starch if this concerns you, or just handle your fabric gently.
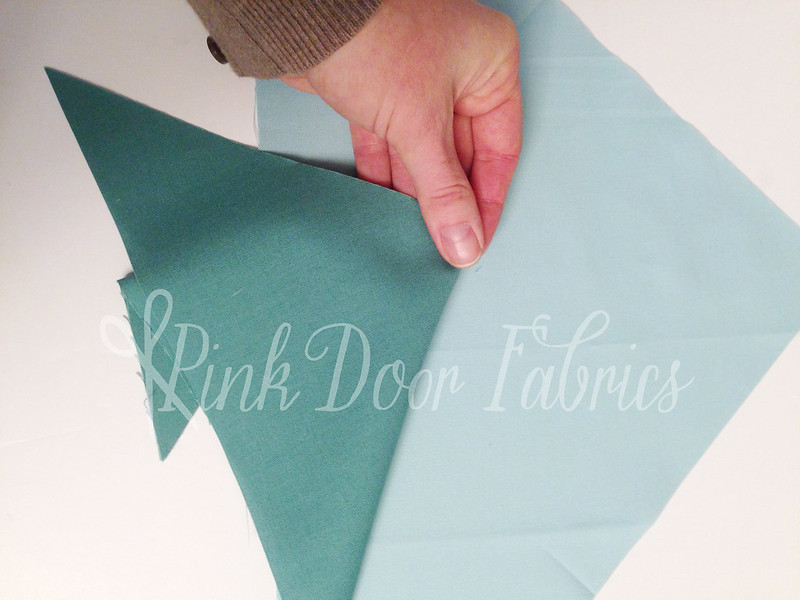
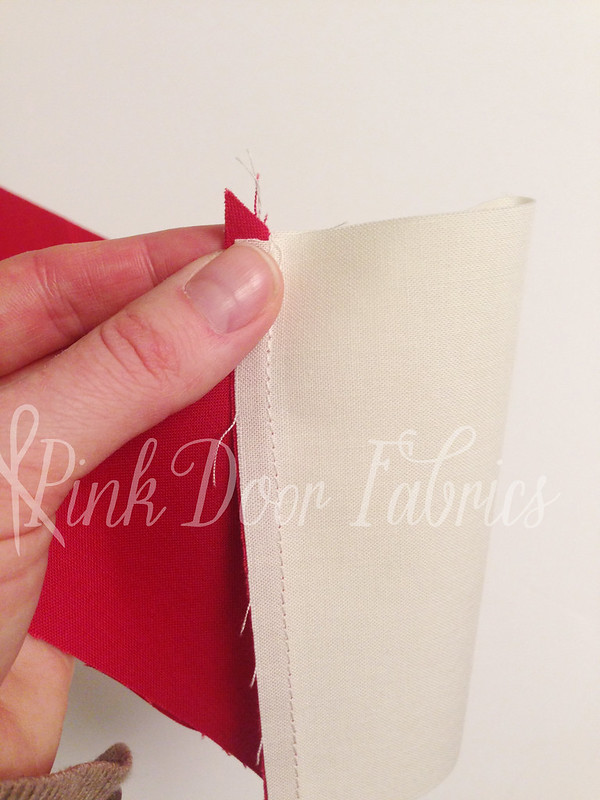
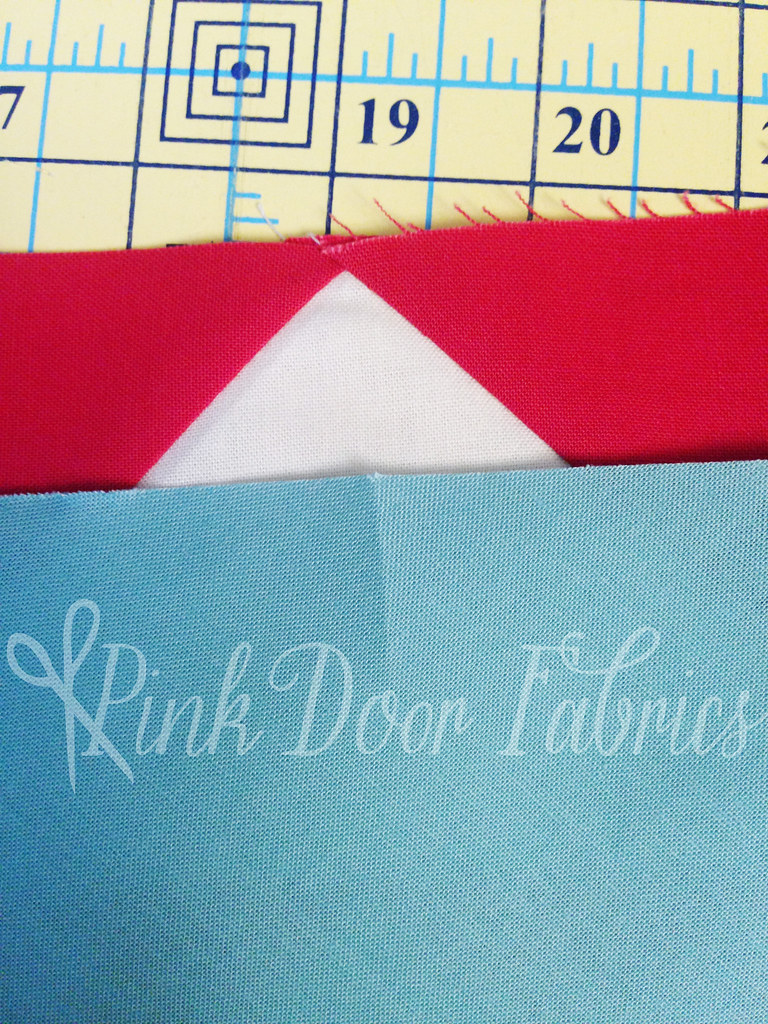
When attaching one triangle to another, you want to make sure you are finding the center point on the long end of each triangle. This will ensure that you have the 1/4″ hanging off both sides so that everything fits together nicely and you don’t lose any of your points when assembling. Start by folding your triangles in half on the long end and gently finger pressing a crease in the middle.

Next, line up your crease marks and add a dab of glue to keep your fabric lined up nicely as you take it to your sewing machine. We really like using glue for this purpose because using pins can often stretch and distort your fabric.
You’ll be using this same method when sewing in setting triangles. Just fold your squares in half and match up with the center point of the long end of the triangles.
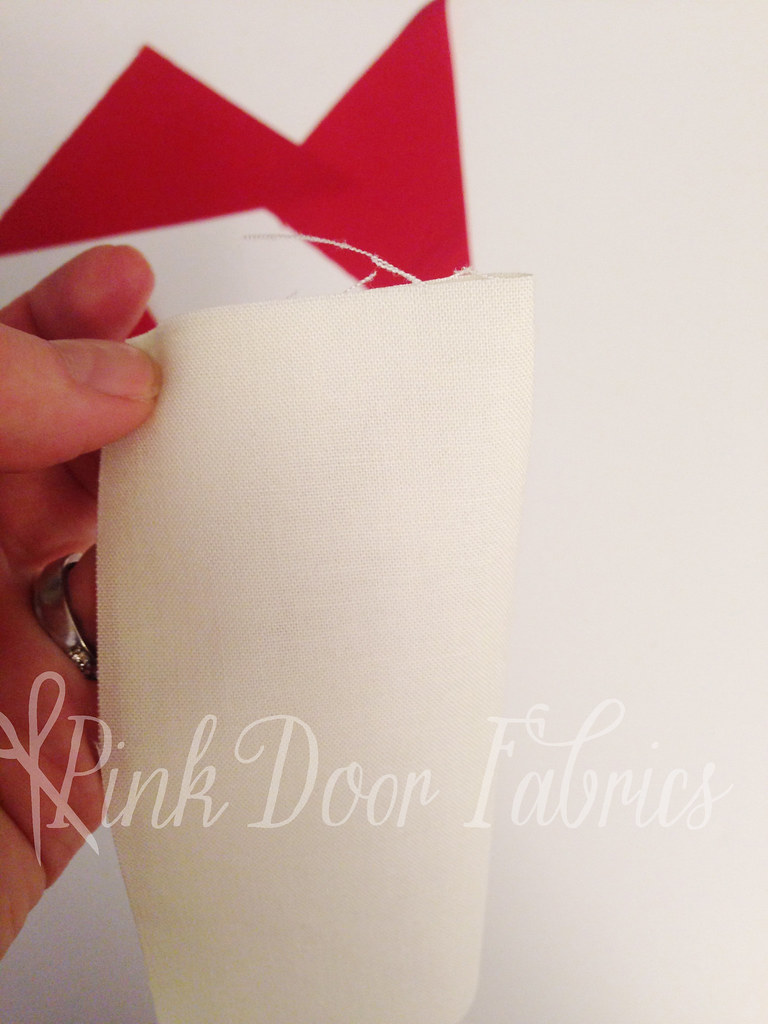
Use a dab of glue and sew your 1/4″. Sew one triangle on two opposite sides as pictured below.
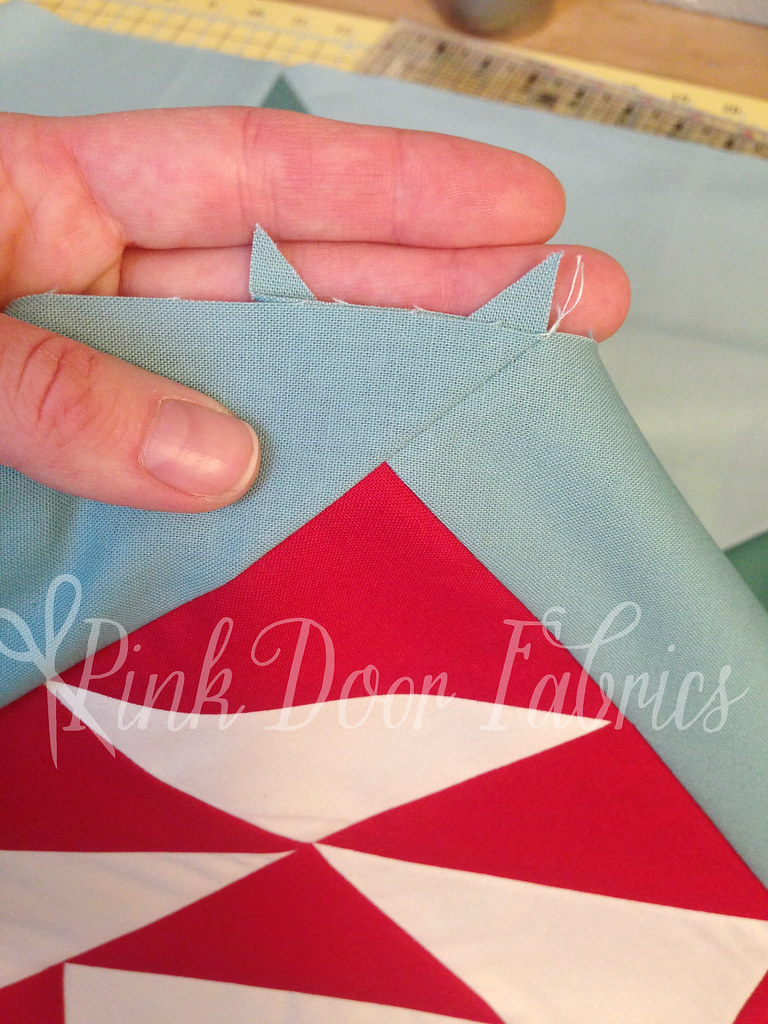
Don’t be tempted to trim your dog ears at this point; you need these to continue to line everything up.
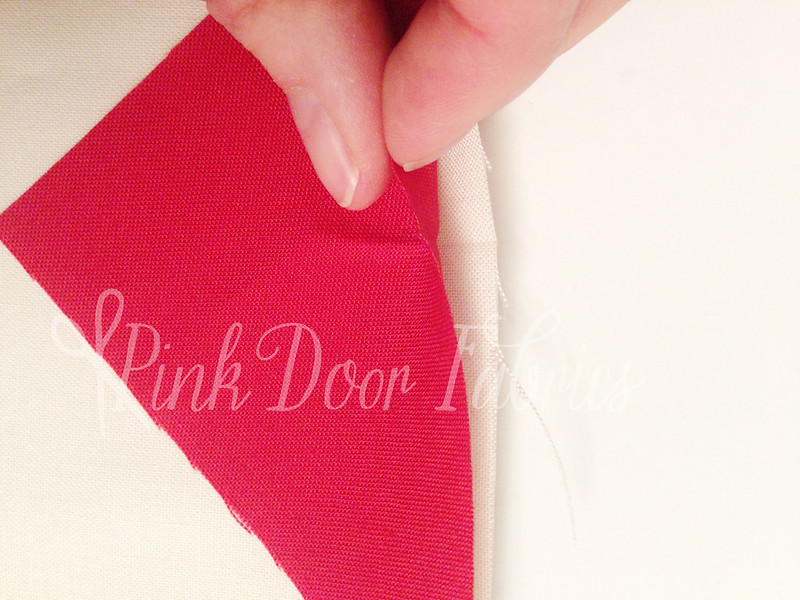
Use the dog ears on either side; line them up and find the middle point of your square again. Then sew the next two triangles on.
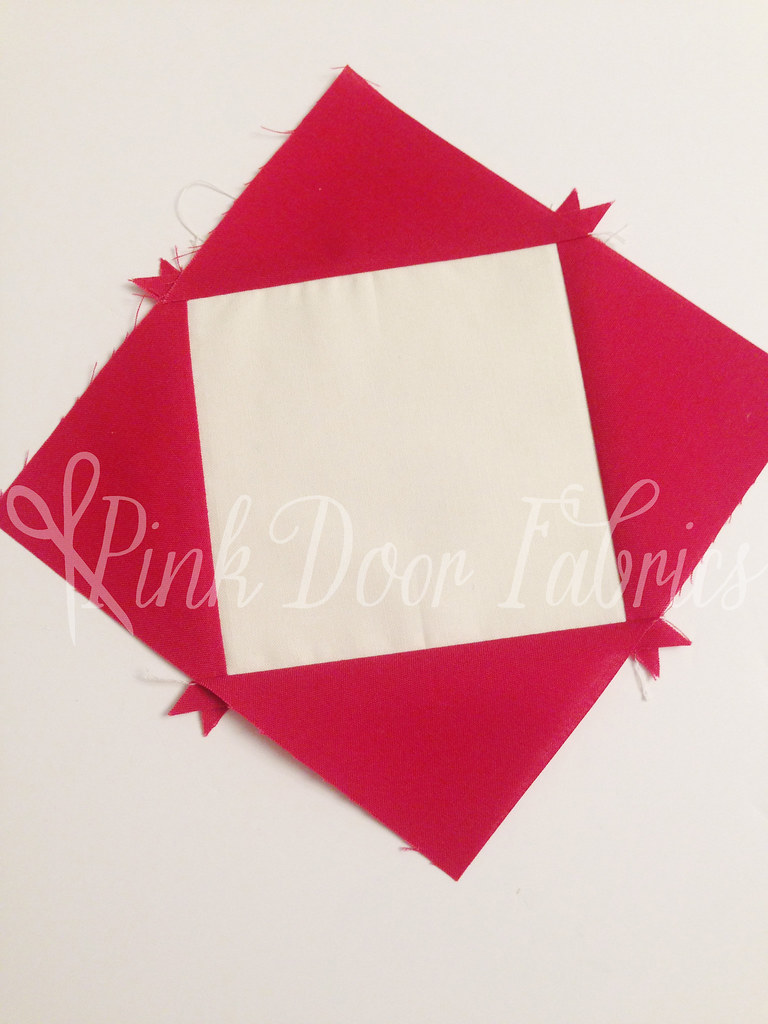
Once your block reaches this point, it is safe to trim off those dog ears.
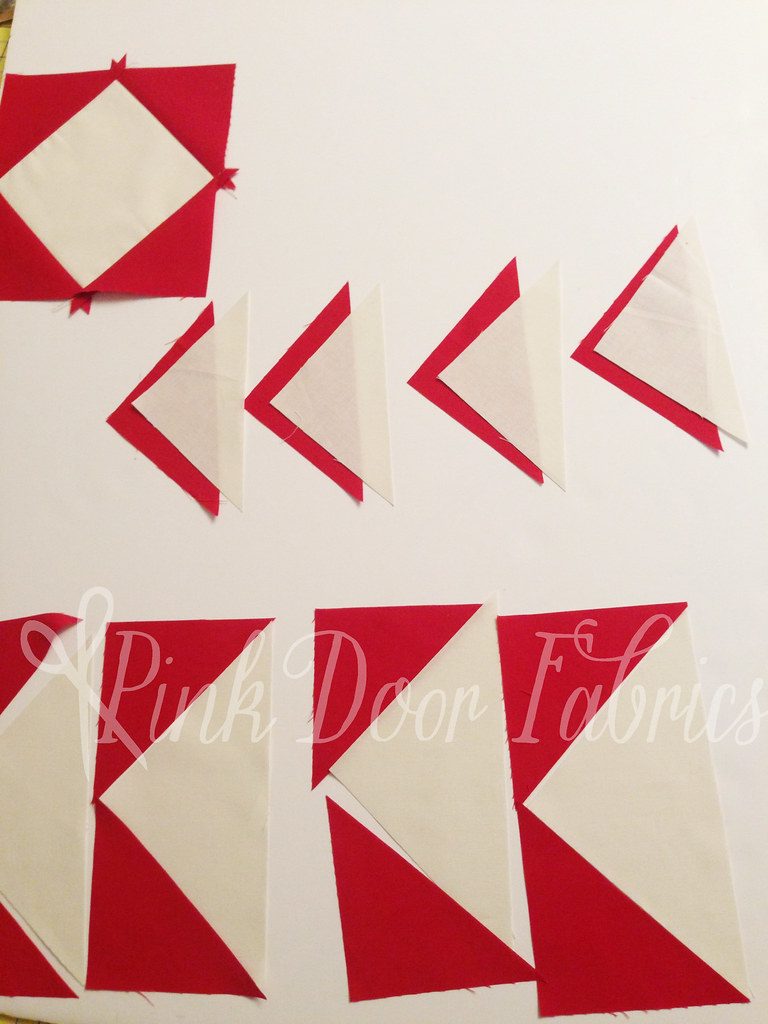
Sew the flying geese for the center of the block in the same manner as above.
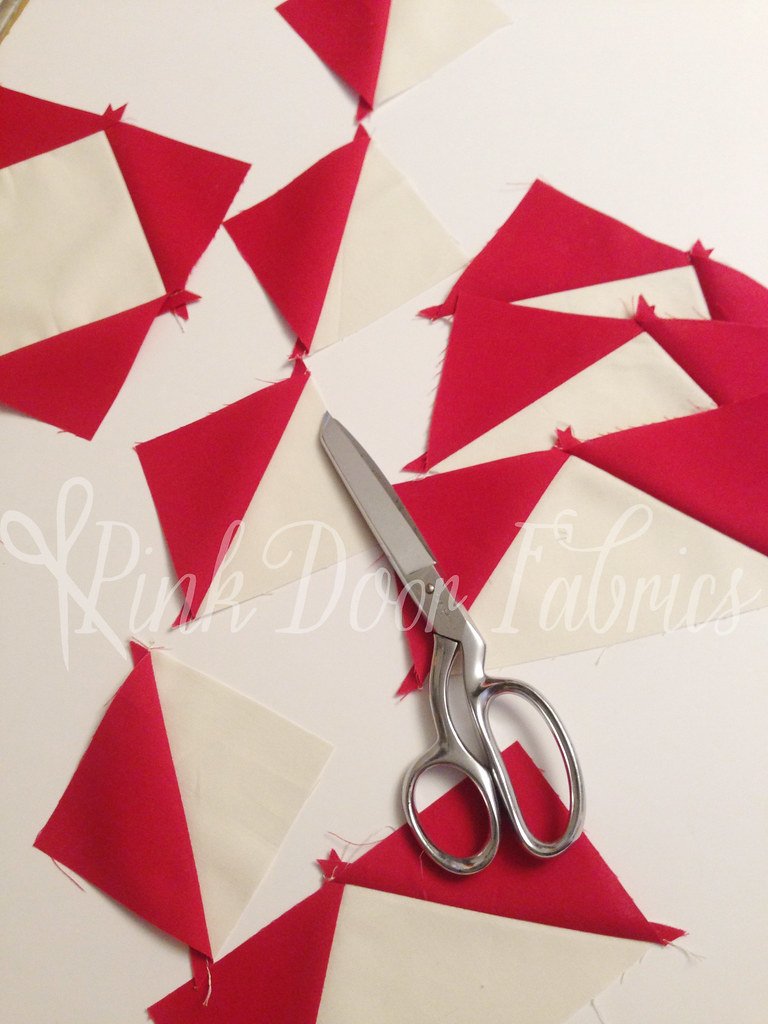
Trim off your dog ears before sewing the flying geese units to each other.
Continue with this same method, working from the inside of the block out according to the diagram in the pattern.

If you go slowly and pay careful attention to your center points, you shouldn’t have any problems getting your block together with nice, crisp points.
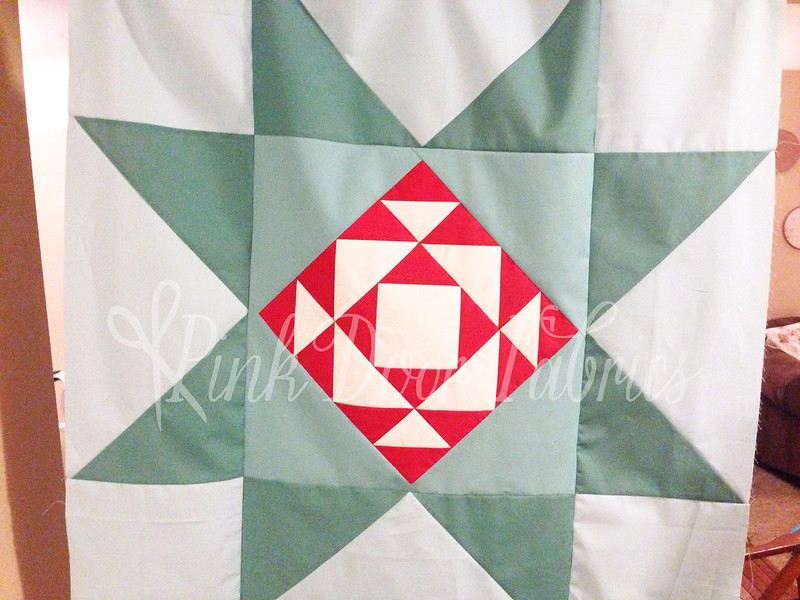
Here is Block 1 all put together!
A few other things to keep in mind as you work on your quilt: The Moda Building Blocks diagram instructs that you start with your largest blocks first and work your way down from there. The blocks are laid out in this manner in the pattern, so if you start with block one and move in a linear fashion, you will minimize fabric waste and ensure you have enough to finish the pattern.
We’ll check back with more tips as we continue working on the quilt! Thanks for reading!