We had the wonderful opportunity to go to Quilt Market in Houston last month, and while totally jam-packed, we had a great time! Let’s not discuss how much we packed and brought with us, though, okay? 😉

Chelsea, Charlie, and Jamie flew in, while Sandra and Nicole took the long route and drove 15 hours, but we had plenty of extra space to pack in all the Sample Spree and Quilt Market goodies we got for the ride home. More on that in a bit. Texas, while beautiful, is a very, very boring drive. There wasn’t much to see like we had hoped, unless of course we were super into cotton fields. One thing we did notice, is that every single town and city along the way has ice cream shops, whether it be Dairy Queen or Braums. We never got to try it, so if you’ve had Braums, let me know how it is!
On Friday morning, Oct, 24th, we arrived at Quilt Market and immediately had Schoolhouse classes scheduled for the entire day. The first session we attended was from Cotton + Steel. Here’s where they released their new fabric lines and discussed the inspiration behind their prints and then showed off a ton of quilts and projects.
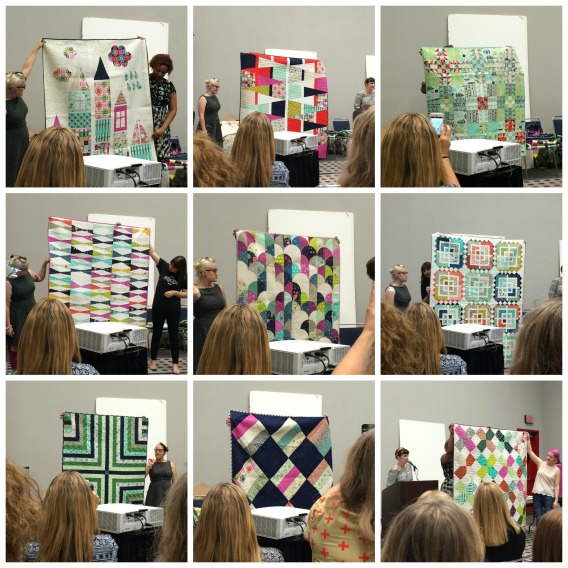
These ladies were so inspirational! They had a great back-story and all their new collections (Playful, Mesa, Mochi, Tokyo Train Ride, and Cookie Book) all work with their basics from the last collections. Fantastic, right? I’m super excited for these to ship in January! Pink Door Fabrics will definitely have the majority of the collections. In fact, they’re already up for presale and we’re working on getting more of it listed every day.
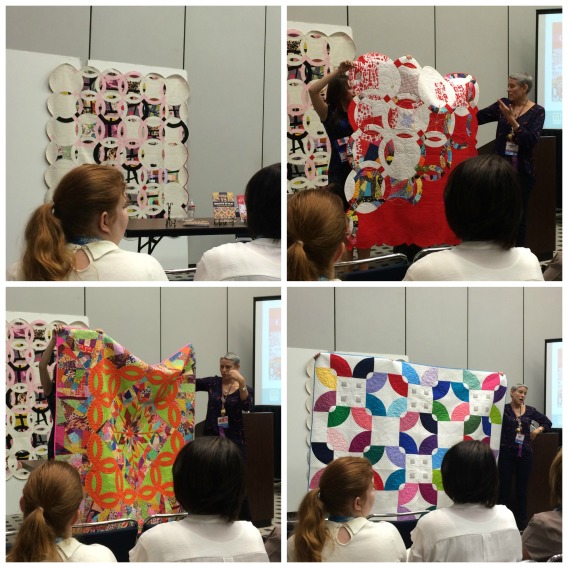
Next, I went to a session on the Double Wedding Ring quilts, namely the ones done by Victoria Findlay Wolfe for her new book, Double Wedding Ring Quilts, due out soon! I am a HUGE fan of the DWR quilt and it’s more modern movement. I’ve seen some stunning use of negative space and modern color in a few of her quilts that I hope will inspire me to brave another for myself. She was an excellent speaker and I truly enjoyed meeting Victoria and hearing her fabulous discussion on how she creates each quilt and what inspires her.
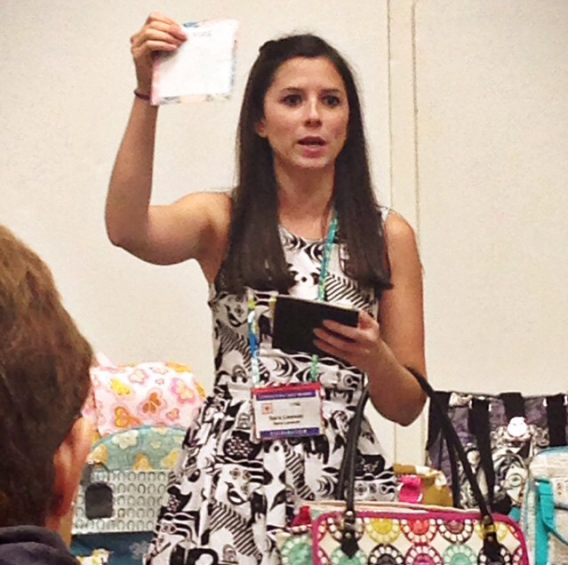
Nicole, Jamie and Sandra went to a class by Sarah Lawson, also known as Sew Sweetness. She has amazing, and I mean truly amazing bags and patterns! She gave us some valuable information on the interfacings she uses and prefers along with some samples to help us remember what’s what. Sarah had a ton of bags with her that we got to check out and we also saw a few of her upcoming and new patterns. Stay tuned for those! They’re amazing!
Our last session of the day was the coveted Tula Pink Schoolhouse. We were anticipating this so much and incredibly excited to meet Tula Pink, herself. As a group, we are huge fans of her works and her fabrics. The originality in all her drawings is amazing, and when she shows her process on her Instagram or Facebook pages, I’m in awe. She really is incredible. After hearing her speak, she’s also quite hilarious and entertaining. Tula has such a bubbly personality! Anyways, she showed off her new line Elizabeth, coming out early next year. It’s beautiful, as usual!
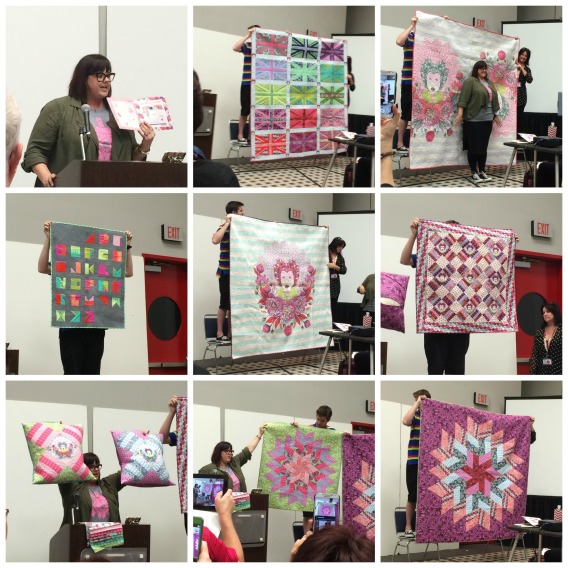
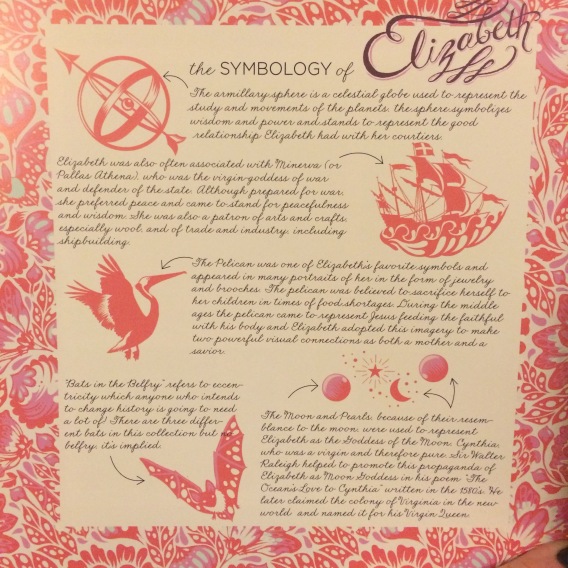
Here’s an excerpt from her Elizabeth mini catalog describing the major drawings in her line and how they relate–
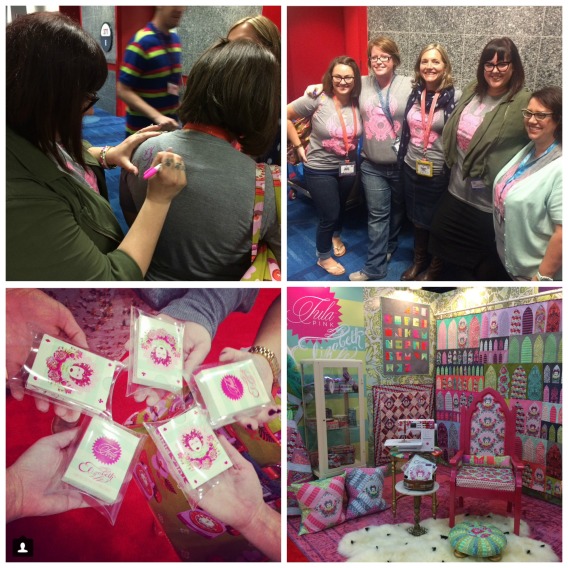
After Tula’s sessions, we got a photo with her for wearing our Tula Pink – Downtown Housewife collab shirts.
Ps- we totally scored these limited edition, VERY RARE, Tula Pink Elizabeth playing cards. There’s only 250 sets available and they’re signed and numbered by Tula Pink herself. We each got one set! We’re pretty happy with that. 
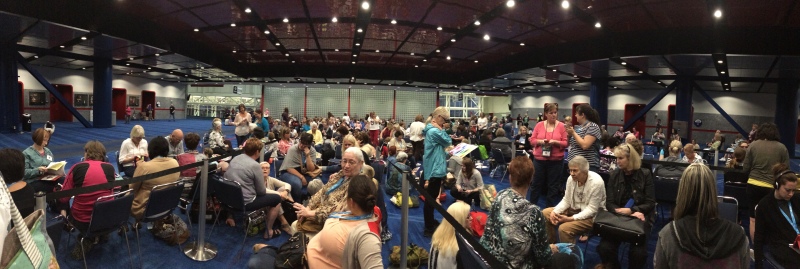
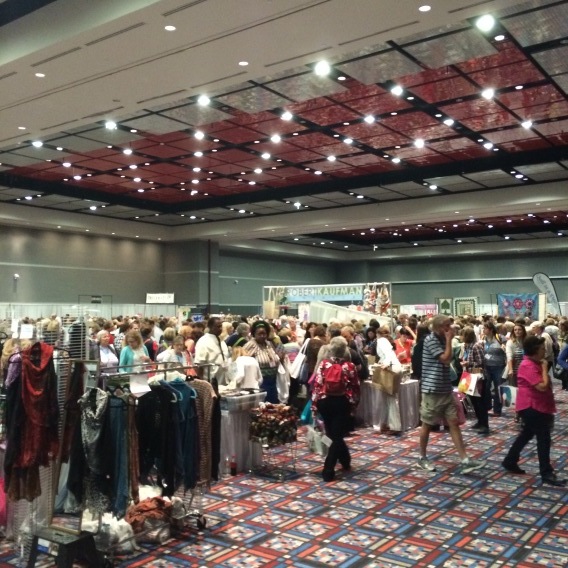
After this session, we went and waiting in line for Sample Spree. We got there at 4:30…The doors open at 8pm. This picture was taken at 7pm, and there were a LOT more people after this. If you haven’t experience Sample Spree before, like myself, I would describe it as Black Friday x50… It’s chaos. It’s a whole lot of people running through the entrance doors (not joking, literally running) to make a mad dash to find the not-yet-released fabrics. From what I noticed, Cotton + Steel was very popular, as was Robert Kaufman and Art Gallery, but there were literally dozens of other tables set up and I didn’t even get to see them all!
I have to admit, I think each and every one of us did some minor damage at Sample Spree. I was behaved and didn’t buy anything ‘just because’ and only got what I felt like I would use. We have some extra bundles we’ll be adding to our giveaway bundle here in a few days and we’ll also be auctioning off some of the bundles on Instagram. Keep watching our blog for more fun info, and lots of pictures of our experience with Quilt Market.
Stay tuned for Part 2…


