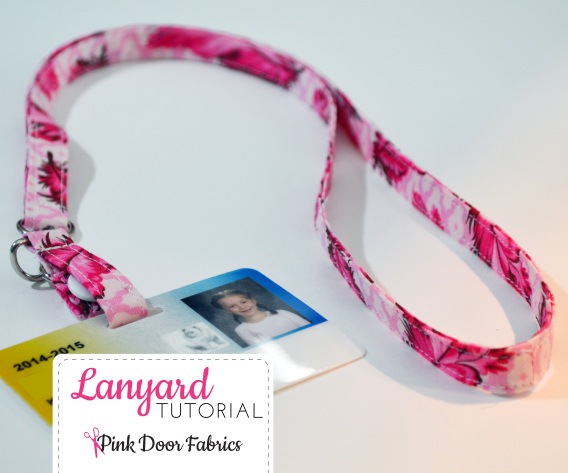
The kids are back in school. The chaos has returned. The early morning struggles don’t seem to get easier. The struggle of Back-to-School is exhausting!
But, on the plus side, one of my kids is in Kindergarten, so while I get to spend to some one-on-one time with my youngest, she also goes to preschool three days a week for a few hours. That means just a few hours a week to be ALONE. This has been a huge transition and feels quite lonely initially but now that we’ve been in school about a month, I’m LOVING IT!
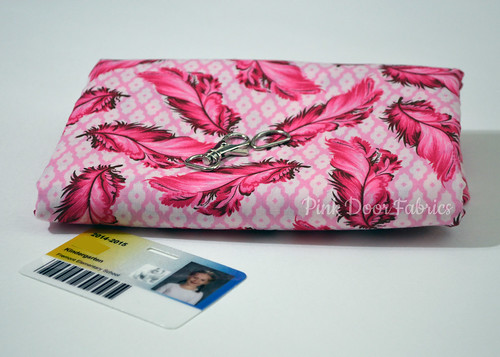
Big kid brought home her new school ID. She proceeded to ask for thread to hang up her ID so she didn’t lose it. Dad suggested buying a lanyard… I immediately nixed both ideas and got right down to digging through my stash for some fabric. See where this is going?
I have been hoarding stashing this Tula Pink Plume for some time now. My daughter asked if we could use it. I couldn’t deny her! She knows what she likes, and I can’t be more proud! So, lets get this tutorial started.
You will need:
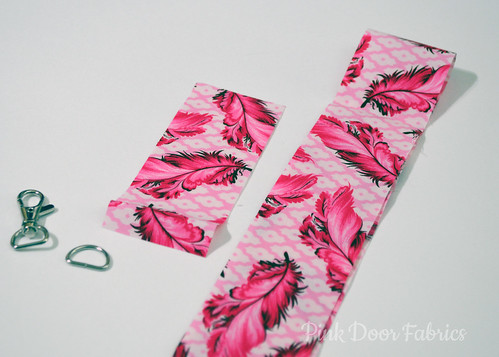
– (1) 2.5″ x 5″ strip of fabric
– (1) 2.5″ x 36″ strip of fabric
– (1) 5/8″ Swivel clasp AND D-ring
– Rotary Cutter/Ruler
– Iron
– Snaps of your choice
– Sewing machine and all the goodies that go with that, like coordinating thread and a sharp needle.
So first, grab your fabric and cut the two pieces. You could very likely get all you need from a 2-1/2″ x WOF piece.
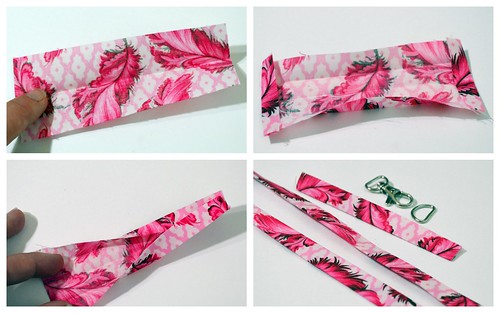
Then, you’ll take each strip and fold in half lengthwise. So now it’ll measure 1-1/4″ x 5″ or 1-1/4″ x 36″. Fold well and press with a lot of steam.
Open up each strip and fold the edges into the middle. Press again.
On the 5″ piece, take in your short edges, and fold them over by 1/4″. We want those raw edges tucked away.
Fold your whole piece back in half like you did in the first step. Your piece should measure 5/8″ wide.
On the 5″ piece, go ahead and top stitch all the way around. This piece is complete for now. Set aside.
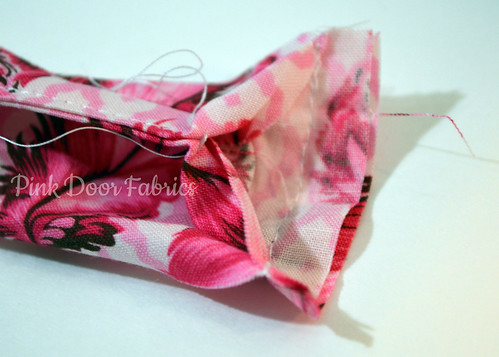
On the 36″ piece, while folded, slide on your Swivel clasp. Then take both short edges, and unfold slightly making sure to align right sides together. Go ahead and sew those together with a 1/4″ seam. Press the seam open, and refold your strip.
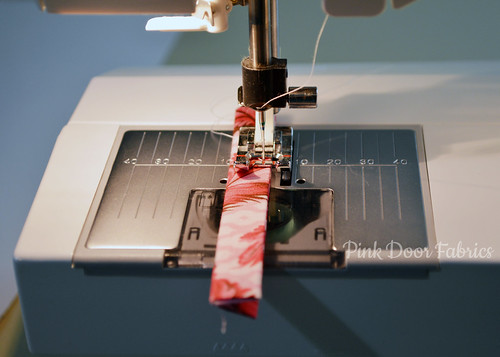
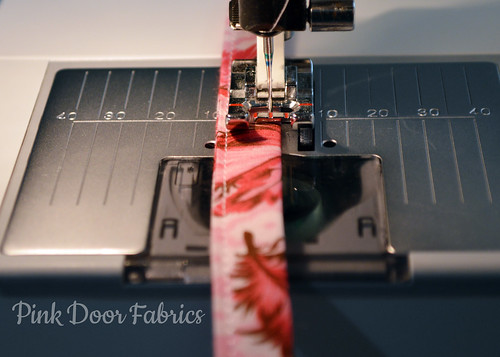
Now we will topstitch the entire piece. It should look like one big circle if you have sewn it correctly. Make sure to keep moving the Swivel Clasp so you don’t sew over it.
Now you’re almost done! We just need to add the snaps to our little 5″ piece to create a loop, then add your ID, and D-Ring, and that’s it!
Go ahead and add your snaps following the manufacturer’s directions. I used size 16 plastic Kam Snaps that I had, but any other snap will work fine too. I won’t show you this step since it varies greatly depending on brand/type.
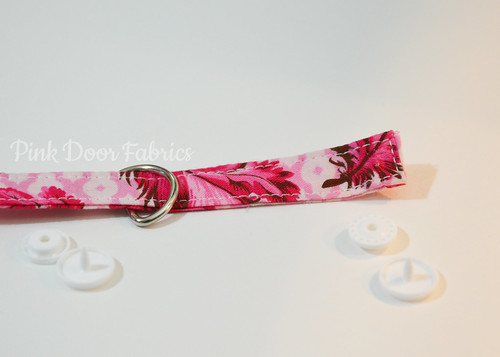
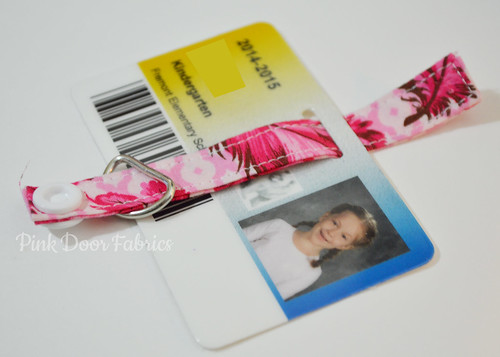
As you can see, on mine, I had to wait to add the second snap since it wouldn’t fit through the tiny slot on the ID. So this pictures shows that I added one snap, then the D-Ring, then the ID, and I’ll add the last snap part at the end. You may be able to do yours all at once, or may need to divide it like I did. Go ahead and finish this step.
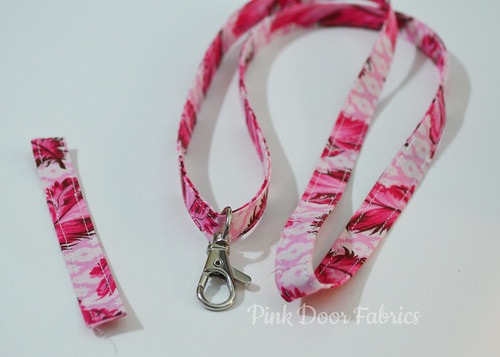
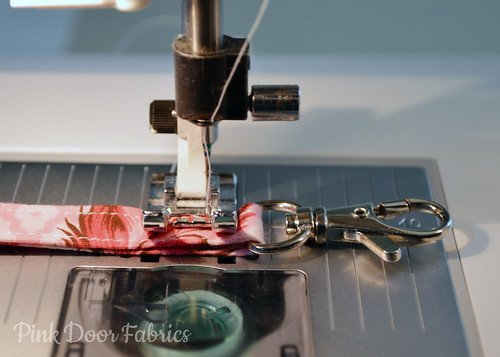
Now, take your 36″ circle/strip, and move the Swivel Clasp to the middle. Meaning, my seam where I sew the two edges together will go on the top, and the swivel clasp will go on the bottom. Imagine it being on your neck. Get it? Squish that little end as flat as it will go and move your needle all the way to the right to sew a stitch line as close to the clasp as you can get. This will prevent the clasp from moving all over and staying put. I did the same thing with the 5″ piece but it’s not necessary.
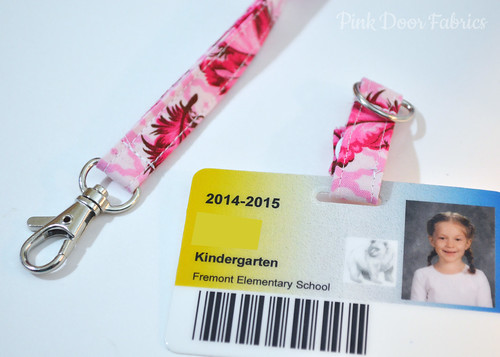
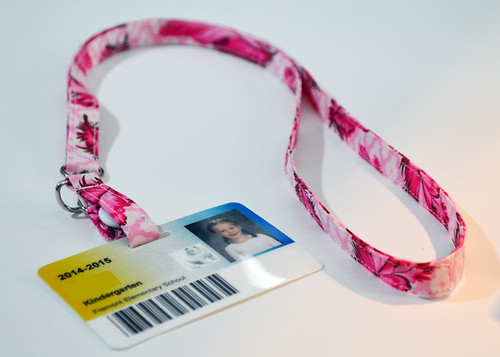
That’s it! All you have to do is close up your little 5″ piece using the snaps, and then hook the Swivel clasp to the D-ring. DONE! Good job!


