• 04 Nov

    Quilt Market – Fall 2014 [Part 1]

    Posted under Fall Quilt Market 2014, New Fabrics, News

    We had the wonderful opportunity to go to Quilt Market in Houston last month, and while totally jam-packed, we had a great time! Let’s not discuss how much we packed and brought with us, though, okay? 😉

    Pink Door Fabrics Crew

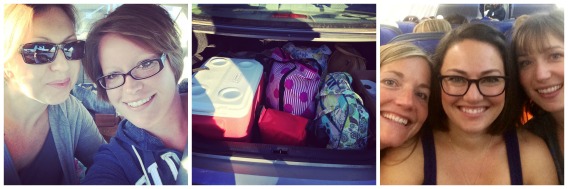
    Chelsea, Charlie, and Jamie flew in, while Sandra and Nicole took the long route and drove 15 hours, but we had plenty of extra space to pack in all the Sample Spree and Quilt Market goodies we got for the ride home. More on that in a bit. Texas, while beautiful, is a very, very boring drive. There wasn’t much to see like we had hoped, unless of course we were super into cotton fields. One thing we did notice, is that every single town and city along the way has ice cream shops, whether it be Dairy Queen or Braums. We never got to try it, so if you’ve had Braums, let me know how it is!

    On Friday morning, Oct, 24th, we arrived at Quilt Market and immediately had Schoolhouse classes scheduled for the entire day. The first session we attended was from Cotton + Steel. Here’s where they released their new fabric lines and discussed the inspiration behind their prints and then showed off a ton of quilts and projects.

    CottonAndSteelQuilts

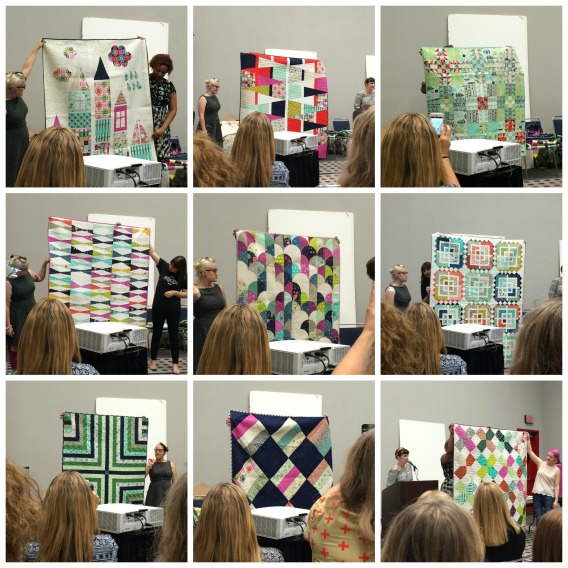
    These ladies were so inspirational! They had a great back-story and all their new collections (Playful, Mesa, Mochi, Tokyo Train Ride, and Cookie Book) all work with their basics from the last collections. Fantastic, right? I’m super excited for these to ship in January! Pink Door Fabrics will definitely have the majority of the collections. In fact, they’re already up for presale and we’re working on getting more of it listed every day.

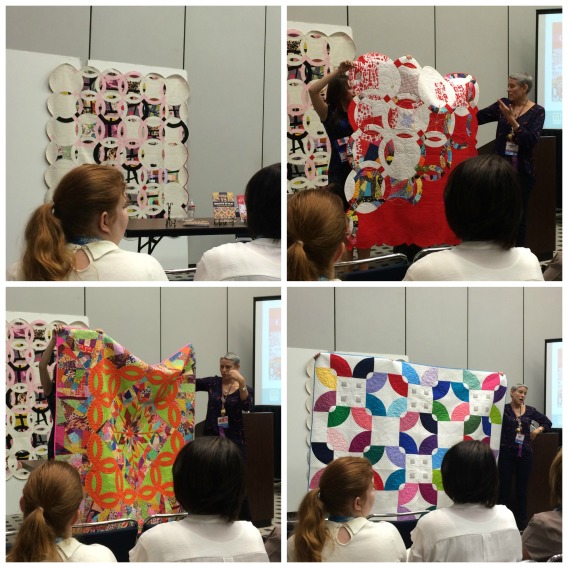
    Next, I went to a session on the Double Wedding Ring quilts, namely the ones done by Victoria Findlay Wolfe for her new book, Double Wedding Ring Quilts, due out soon! I am a HUGE fan of the DWR quilt and it’s more modern movement. I’ve seen some stunning use of negative space and modern color in a few of her quilts that I hope will inspire me to brave another for myself. She was an excellent speaker and I truly enjoyed meeting Victoria and hearing her fabulous discussion on how she creates each quilt and what inspires her.

    Victoria Findlay Wolfe - Double Wedding Ring

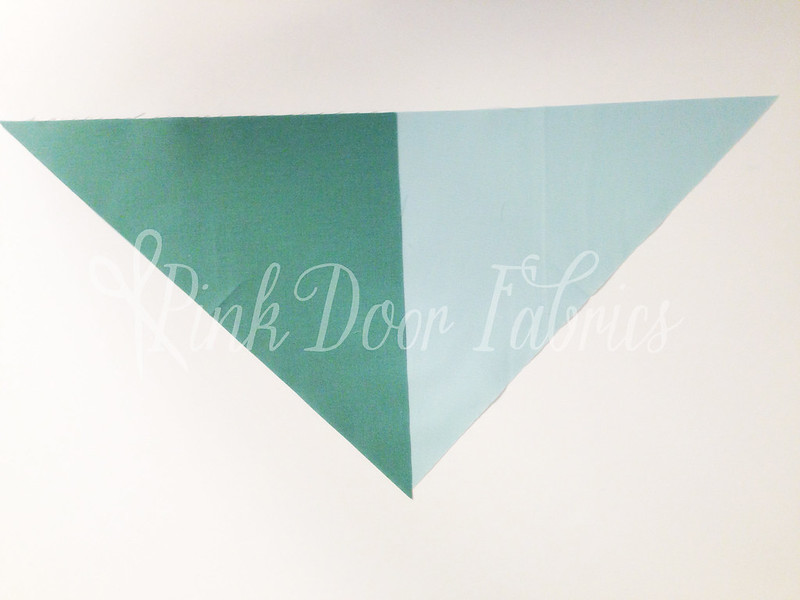
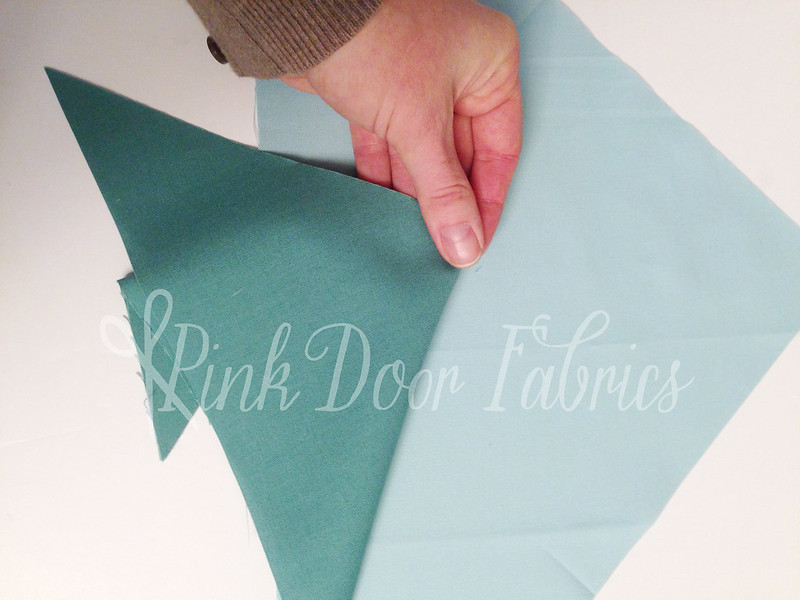
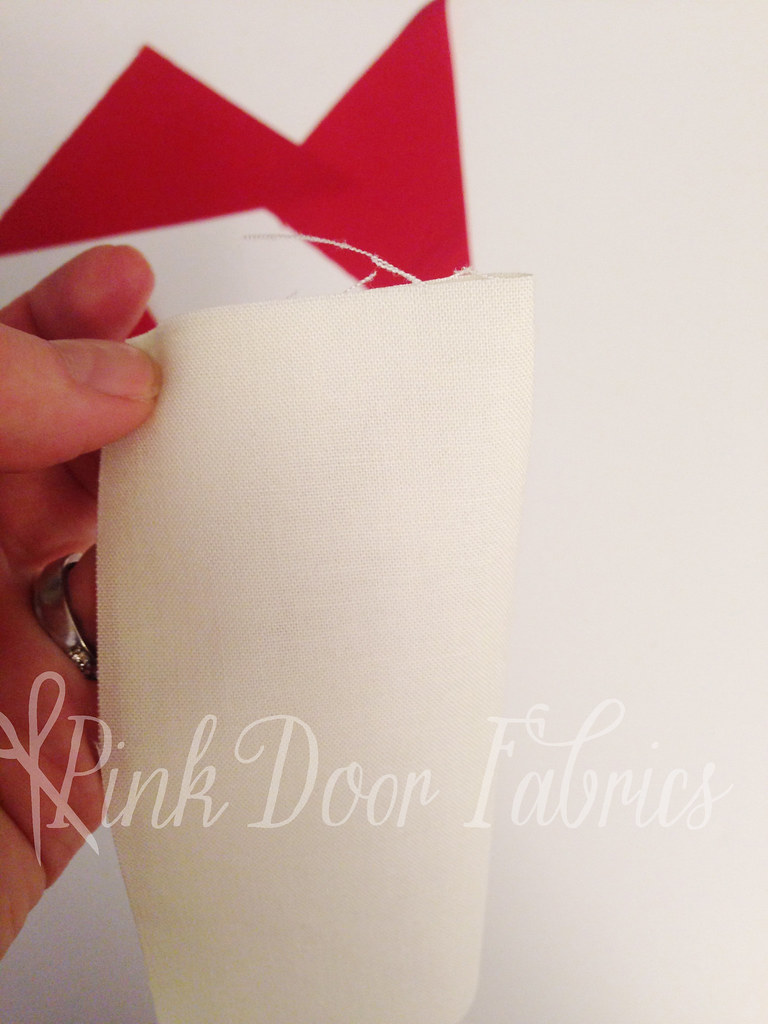
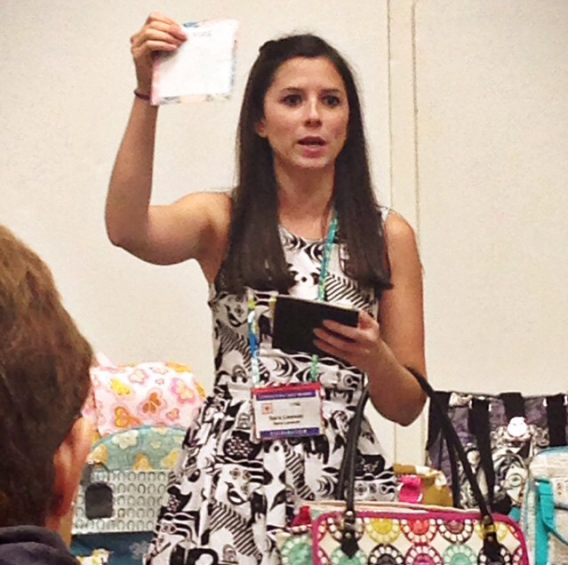
    Nicole, Jamie and Sandra went to a class by Sarah Lawson, also known as Sew Sweetness. She has amazing, and I mean truly amazing bags and patterns! She gave us some valuable information on the interfacings she uses and prefers along with some samples to help us remember what’s what. Sarah had a ton of bags with her that we got to check out and we also saw a few of her upcoming and new patterns. Stay tuned for those! They’re amazing!

    SewSweetness - Sarah Lawson

    Our last session of the day was the coveted Tula Pink Schoolhouse. We were anticipating this so much and incredibly excited to meet Tula Pink, herself. As a group, we are huge fans of her works and her fabrics. The originality in all her drawings is amazing, and when she shows her process on her Instagram or Facebook pages, I’m in awe. She really is incredible. After hearing her speak, she’s also quite hilarious and entertaining. Tula has such a bubbly personality! Anyways, she showed off her new line Elizabeth, coming out early next year. It’s beautiful, as usual!

    Tula Pink Schoolhouse

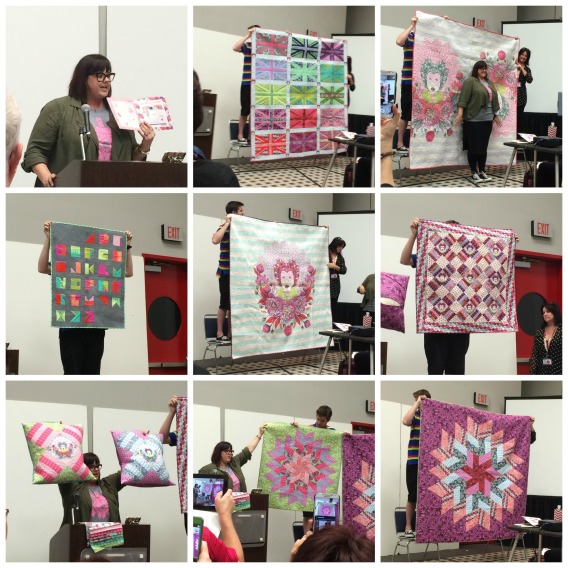
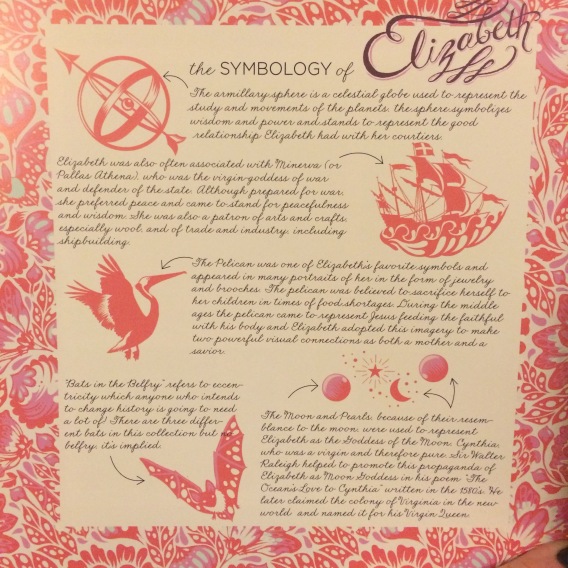
    Here’s an excerpt from her Elizabeth mini catalog describing the major drawings in her line and how they relate–

    IMG_5346

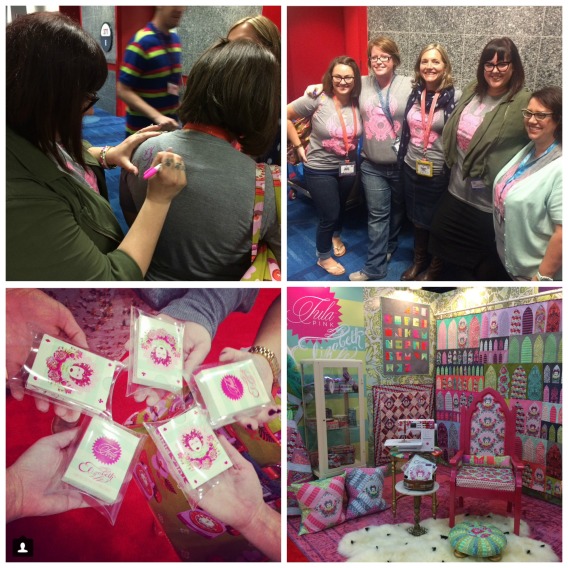
    After Tula’s sessions, we got a photo with her for wearing our Tula Pink – Downtown Housewife collab shirts.

    Ps- we totally scored these limited edition, VERY RARE, Tula Pink Elizabeth playing cards. There’s only 250 sets available and they’re signed and numbered by Tula Pink herself. We each got one set! We’re pretty happy with that. :)

    Tula Pink 2

    Sample Spree

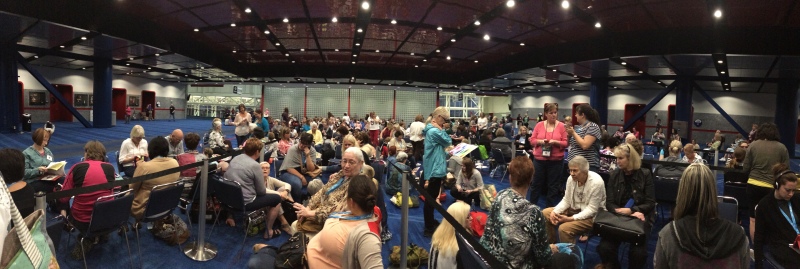
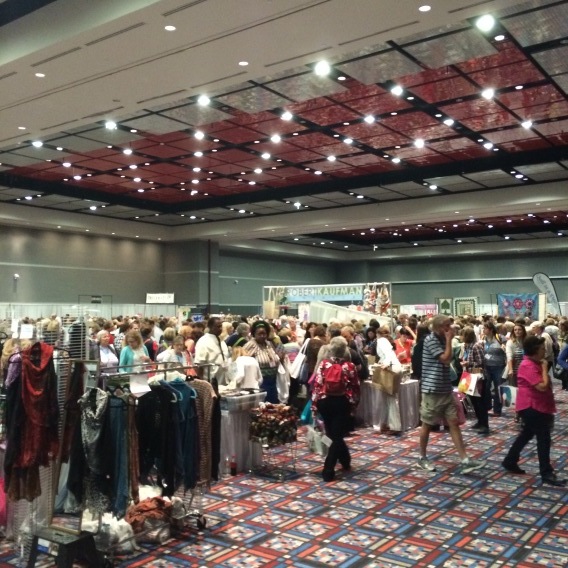
    After this session, we went and waiting in line for Sample Spree. We got there at 4:30…The doors open at 8pm. This picture was taken at 7pm, and there were a LOT more people after this. If you haven’t experience Sample Spree before, like myself, I would describe it as Black Friday x50… It’s chaos. It’s a whole lot of people running through the entrance doors (not joking, literally running) to make a mad dash to find the not-yet-released fabrics. From what I noticed, Cotton + Steel was very popular, as was Robert Kaufman and Art Gallery, but there were literally dozens of other tables set up and I didn’t even get to see them all!

    Sample Spree

    I have to admit, I think each and every one of us did some minor damage at Sample Spree. I was behaved and didn’t buy anything ‘just because’ and only got what I felt like I would use. We have some extra bundles we’ll be adding to our giveaway bundle here in a few days and we’ll also be auctioning off some of the bundles on Instagram. Keep watching our blog for more fun info, and lots of pictures of our experience with Quilt Market.

    Stay tuned for Part 2…


    Blog Sig_Sandra

    tags: , , , , , , , , , , ,

    No Comments »

    15 Oct

    DIY Mason Jar Wrap

    Posted under News

    cupcozy17

    Stopping in today with a quick tutorial on these mason jar wraps!

    While playing around with a Moda scrap bag a few weeks ago, I came up with a handful of quick projects that use up all those scraps you have lying around. First up is this mason jar wrap. The wrap will keep warm beverages warm just a bit longer and helps to keep your cup free of perspiration in the summer when drinking cold beverages.

    For this project, I used a Moda scrap bag, but you can use up all those bits and pieces you have lying around. In case you are interested in the scrap bags, they are very similar in size to a jelly roll and come with random assortments from a fabric line. You are not guaranteed to get every fabric in the line in any given scrap bag, but you often get a decent variety and can get cuts even larger than 2.5″ in width.  They tend to retail for somewhere around $10 or $12, so they are really not a bad deal if you’re looking to test out a fabric line or just want some coordinating fabrics to play with. These next three pictures show three different scrap bags of Into the Woods, so you can get an idea of how different each pack is.

    cupcozy15

    cupcozy16

    cupcozy14

    Ok, so on to the instructions. This is really pretty straightforward and if you have basic sewing or quilting skills, you probably are wincing right now that I’m calling this a tutorial. Just pretend that this is earth shattering and everyone and their brother hasn’t already made these. You are impressed with my mad-creative skills, ok?!

    cupcozy13

    So gather your materials. I used an assortment of scraps, a piece of cotton batting approximately 15″ by 3.5″, a piece of flannel or backing fabric at least the size of your batting, and a strip of Velcro– along with your ruler and rotary cutter. I measured the mason jar I wanted to use and then adjusted the size so that I could use it on a variety of jars. Basically it has a decent overlap and the Velcro strip is long enough (mine was 2″) that it could be used for coffee cups, several size/shapes of mason jars, and regular glasses if I wish. I wanted mine to be about 3″ wide when finished, but obviously make it whatever size you fancy. Just err on the side of making your wrap about 1/2″ larger on all sides than you want finished cozy to be so that you can trim up the edges and have room for a seam allowance.

    cupcozy12

    Here is where the tutorial gets really technical… I measured random sized strips and cut an assortment of different fabrics… ahm… randomly. These were 3″ each and I had another couple of stacks I cut between 1.5 and 2.5″. Here is the thing, this project is ideal for using up whatever you have, so my recommendation is to just start sewing strips together until you have the length and width you want to cover your cup. Sew them log-cabin style, with carefully measured squares in neat rows, with wonky cut, uneven ends in messy lines… whatever seems fun at the moment. Note: This kind of project is perfect for that fussy cut puppy or fish in a bag that you couldn’t bring yourself to throw away. It’s a great way to feature you’re favorite pieces.

    cupcozy11

    So I grabbed all my random pieces and sewed them into two rows and then sewed those rows together. My primary consideration was varying the colors/values, not the size of the scraps/strips.

    Next up, layer your fabric on the batting and get ready to quilt.

    cupcozy10

    I quilted straight lines about 1/4″  on either side of each seam.

    cupcozy9

    Now trim your batting and your fabric so that they line up nicely.

    cupcozy7

    cupcozy8

    I used flannel to back my wrap because it provides some extra insulation and soaks up the moisture on the cup nicely. Measure and cut your backing to be even with the quilted front piece. Then put the front and backing right sides together and sew around the rectangle with a 1/4″ seam.

    cupcozy6

    Don’t forget to leave an opening of at least a few inches to turn the wrap right-side out after sewing. Clip your corners, turn right-side out, and press well.

    cupcozy5

    Now press the opening under 1/4″ and press. Top stitch all the way around the wrap, closing up the opening.

    cupcozy4

    Determine where to place the Velcro. I wrapped my cozy around my jar and marked the spot I wanted the Velcro to go with a water-soluble pen.

    cupcozy3

    See my art skills. I can draw a box almost as well as my 3-year-old son.

    cupcozy2

    Sew down your Velcro.

    cupcozy1

    Double check that you are sewing the hook and the loop pieces right way around. One part should be on the inside of the wrap (touching the backing fabric) and the other on the outside (touching the quilted part)… I know this is common sense, but that is where I always drop the ball when sewing. Hands down my most frequent need for fancy language whilst sewing comes as a result of sewing things backwards or with the wrong sides touching. Apparently I am a slow learner.

    Hey, in all my yammering I forgot to mention that you’re done!

    cupcozy18

    Get yourself a fancy straw (found mine at Joann’s) or one of those amazing cuppow lids and you’re good to go!

    scrap7

    Incidentally, I made the little mug rug with more scraps from the same pack. I just sewed two strips together and then free-motion quilted the heart and monograms. Pretty straightforward (and I bet you could even do it without a free-motion foot).
    scrap6

    As for the scraps, the one Moda scrap bag of Into the Woods made all the projects pictured below and I still had over half the bag left.

    scrap1

    Well, that’s a wrap on the wrap! Happy drinking!

    Blog Sig_Jamie

    No Comments »

    27 Sep

    Lanyard Tutorial

    Posted under Fall Quilt Market 2014, Tutorials

    DSC_1022_main

    The kids are back in school. The chaos has returned. The early morning struggles don’t seem to get easier. The struggle of Back-to-School is exhausting!

    But, on the plus side, one of my kids is in Kindergarten, so while I get to spend to some one-on-one time with my youngest, she also goes to preschool three days a week for a few hours. That means just a few hours a week to be ALONE. This has been a huge transition and feels quite lonely initially but now that we’ve been in school about a month, I’m LOVING IT!

    Big kid brought home her new school ID. She proceeded to ask for thread to hang up her ID so she didn’t lose it. Dad suggested buying a lanyard… I immediately nixed both ideas and got right down to digging through my stash for some fabric. See where this is going?

    DSC_0997edit

    I have been hoarding stashing this Tula Pink Plume for some time now. My daughter asked if we could use it. I couldn’t deny her! She knows what she likes, and I can’t be more proud! So, lets get this tutorial started.

    You will need:
    – (1) 2.5″ x 5″ strip of fabric
    – (1) 2.5″ x 36″ strip of fabric
    – (1) 5/8″ Swivel clasp AND D-ring
    – Rotary Cutter/Ruler
    – Iron
    – Snaps of your choice
    – Sewing machine and all the goodies that go with that, like coordinating thread and a sharp needle.

    So first, grab your fabric and cut the two pieces. You could very likely get all you need from a 2-1/2″ x WOF piece.

    DSC_0999_edit

    Then, you’ll take each strip and fold in half lengthwise. So now it’ll measure 1-1/4″ x 5″ or 1-1/4″ x 36″. Fold well and press with a lot of steam.
    Open up each strip and fold the edges into the middle. Press again.
    On the 5″ piece, take in your short edges, and fold them over by 1/4″. We want those raw edges tucked away.
    Fold your whole piece back in half like you did in the first step. Your piece should measure 5/8″ wide.

    Lanyard Tutorial


    On the 5″ piece, go ahead and top stitch all the way around. This piece is complete for now. Set aside.

    DSC_1007edit

    On the 36″ piece, while folded, slide on your Swivel clasp. Then take both short edges, and unfold slightly making sure to align right sides together. Go ahead and sew those together with a 1/4″ seam. Press the seam open, and refold your strip.

    DSC_1011_edit

    DSC_1009_edit

    Now we will topstitch the entire piece. It should look like one big circle if you have sewn it correctly. Make sure to keep moving the Swivel Clasp so you don’t sew over it.

    DSC_1012_edit

    DSC_1014_edit

    Now you’re almost done! We just need to add the snaps to our little 5″ piece to create a loop, then add your ID, and D-Ring, and that’s it!

    DSC_1018_edit

    Go ahead and add your snaps following the manufacturer’s directions. I used size 16 plastic Kam Snaps that I had, but any other snap will work fine too. I won’t show you this step since it varies greatly depending on brand/type.

    DSC_1019_Edit

    As you can see, on mine, I had to wait to add the second snap since it wouldn’t fit through the tiny slot on the ID. So this pictures shows that I added one snap, then the D-Ring, then the ID, and I’ll add the last snap part at the end. You may be able to do yours all at once, or may need to divide it like I did. Go ahead and finish this step.

    DSC_1020_edit

    Now, take your 36″ circle/strip, and move the Swivel Clasp to the middle. Meaning, my seam where I sew the two edges together will go on the top, and the swivel clasp will go on the bottom. Imagine it being on your neck. Get it? Squish that little end as flat as it will go and move your needle all the way to the right to sew a stitch line as close to the clasp as you can get. This will prevent the clasp from moving all over and staying put. I did the same thing with the 5″ piece but it’s not necessary.

    DSC_1021_edit

    That’s it! All you have to do is close up your little 5″ piece using the snaps, and then hook the Swivel clasp to the D-ring. DONE! Good job!

    DSC_1022 copy

    Blog Sig_Sandra

    tags: , , ,

    No Comments »

    18 Sep

    When is the last time you’ve sewn for yourself?

    Posted under Selfish Sewing

    Sometimes, we sew for everyone else, and never find time to sew for ourselves. Does that sound familiar to you? I know I’ve been overbooked with swaps, charity items, orders, etc, my daily life of being a mom and spouse. I has definitely been insane over here. I finally got caught up on all orders and commitments so it was long past time to do some Selfish Sewing. I quickly pulled and ordered fabrics, printed, assembled, and cut patterns, and prewashed all my fabric. I chose to jump right in with the Washi Dress from Made by Rae.

    Selfish Sewing

    I can’t say enough about how easy and quick this pattern was to assemble, cut, and get started with. Seriously. It’s only a few pieces and the dress goes together super quick (which is an added perk since I still have little time to actually sew)! In the short course of three days, I created the dress, using Indelible, and two tunic length Washi dresses/tops with Tula Pink-The Birds and the Bees, and Art Gallery Urban Mod. This is hands-down, my new favorite pattern. I want Washi everything.

    I will admit though, I had to modify the pattern a bit. I required a full bust adjustment and Rae has a ton of resources on her website on how to accomplish this, and also, my machine fought me tooth and nail about shirring… So I omitted that and did an elastic casing in the back instead. It worked out fine and I love it!

    I also made the Flirting the Issue skirt from Anna Maria Horner’s website. This skirt was seriously such a breeze to make! I had some Field Study Rayon Challis here that was begging to be cut into, so I ordered a Navy Rayon Challis and prewashed those fabrics. I immediately got to cutting and sewing and had this skirt done in three short hours. PS- I LOVE IT! It’s so swishy and soft and like a layer of clouds. [insert lovey face here] I want to make more of these but Rayon Challis is a bit more pricey, so I’ll wait til I find some on sale..

    Selfish Sewing

    Finally, to round out my Selfish Sewing, I created this Senna Tote [Pattern from Willow + Co] using yarn dyed Essex linen in black, and Joel Dewberry Birch Farm. I LOVE the colors of this line, more than I can possibly admit, and it really is so gorgeous. I am sort of kicking myself for not getting the antlers… Seriously.

    Selfish Sewing

    This tote is a nice size, about 17″ tall and 17″ wide at the top, and was relatively easy to sew up. However, two things, the straps are too short, for me anyway. I would have added about 4-6″ to each if I had known in advance. Secondly, the exterior pockets are unlined, and that bothers me. So if I were to make it again, I would definitely cut a lining piece (the same size as the exterior pocket piece) and sew it on (right sides together with the exterior piece), flip it over, press and topstitch. Easy! I’m not sure why this step wasn’t included and I really feel it makes or breaks a bag pattern for me. So all in all, loved the pattern, but those two changes will be made next time.

    So there ya go! There’s some Selfish Sewing I’ve done! I want to hear about what you’re creating! Leave a comment!

    Blog Sig_Sandra


    No Comments »

    16 Sep

    Moda Building Blocks Tips

    Posted under Moda Building Blocks

    Just popping in today with a few tips for those of you working on the Moda Building Blocks quilt. Make sure you’ve downloaded the assembly diagram, located here. Before you get into cutting, it would also be a good idea to go through and add labels to each of your fabrics with the names of the colors and the fabric skew, as the MBB pattern identifies the Bella Solids by number throughout.

    We worked on Block 1 over the weekend and wanted to give you some tips when working with bias cuts and setting triangles.

    MBB18

    MBB17
    Following along with the instructions on the assembly diagram and your pattern, you’ll be sewing huge flying geese out of your triangles, which can be tricky for a number of reasons. The first is that the fabric has been cut on the bias, so those triangles are going to be stretchy. You can give your fabric a good spray of starch if this concerns you, or just handle your fabric gently.

    When attaching one triangle to another, you want to make sure you are finding the center point on the long end of each triangle. This will ensure that you have the 1/4″ hanging off both sides so that everything fits together nicely and you don’t lose any of your points when assembling. Start by folding your triangles in half on the long end and gently finger pressing a crease in the middle.

    MBB16

    Next, line up your crease marks and add a dab of glue to keep your fabric lined up nicely as you take it to your sewing machine. We really like using glue for this purpose because using pins can often stretch and distort your fabric.

    MBB15

    You’ll be using this same method when sewing in setting triangles. Just fold your squares in half and match up with the center point of the long end of the triangles.

    MBB13

    Use a dab of glue and sew your 1/4″. Sew one triangle on two opposite sides as pictured below.

    MBB9

    Don’t be tempted to trim your dog ears at this point; you need these to continue to line everything up.

    MBB13

    Use the dog ears on either side; line them up and find the middle point of your square again. Then sew the next two triangles on.

    MBB12

    Once your block reaches this point, it is safe to trim off those dog ears.

    MBB4

    Sew the flying geese for the center of the block in the same manner as above.

    MBB2

    Trim off your dog ears before sewing the flying geese units to each other.

    MBB5

    Continue with this same method, working from the inside of the block out according to the diagram in the pattern.

    MBB3

    If you go slowly and pay careful attention to your center points, you shouldn’t have any problems getting your block together with nice, crisp points.

    MBB6

    MBB1

    Here is Block 1 all put together!

    A few other things to keep in mind as you work on your quilt: The Moda Building Blocks diagram instructs that you start with your largest blocks first and work your way down from there. The blocks are laid out in this manner in the pattern, so if you start with block one and move in a linear fashion, you will minimize fabric waste and ensure you have enough to finish the pattern.

    We’ll check back with more tips as we continue working on the quilt! Thanks for reading!

    Blog Sig_Jamie

    No Comments »